Create a node
Start by creating a node. If you already have a Linux server, you may connect it to Nodex. If you don’t have one, you may use our built-in integrations with cloud providers such as DigitalOcean and Vultr.- On DigitalOcean or Vultr
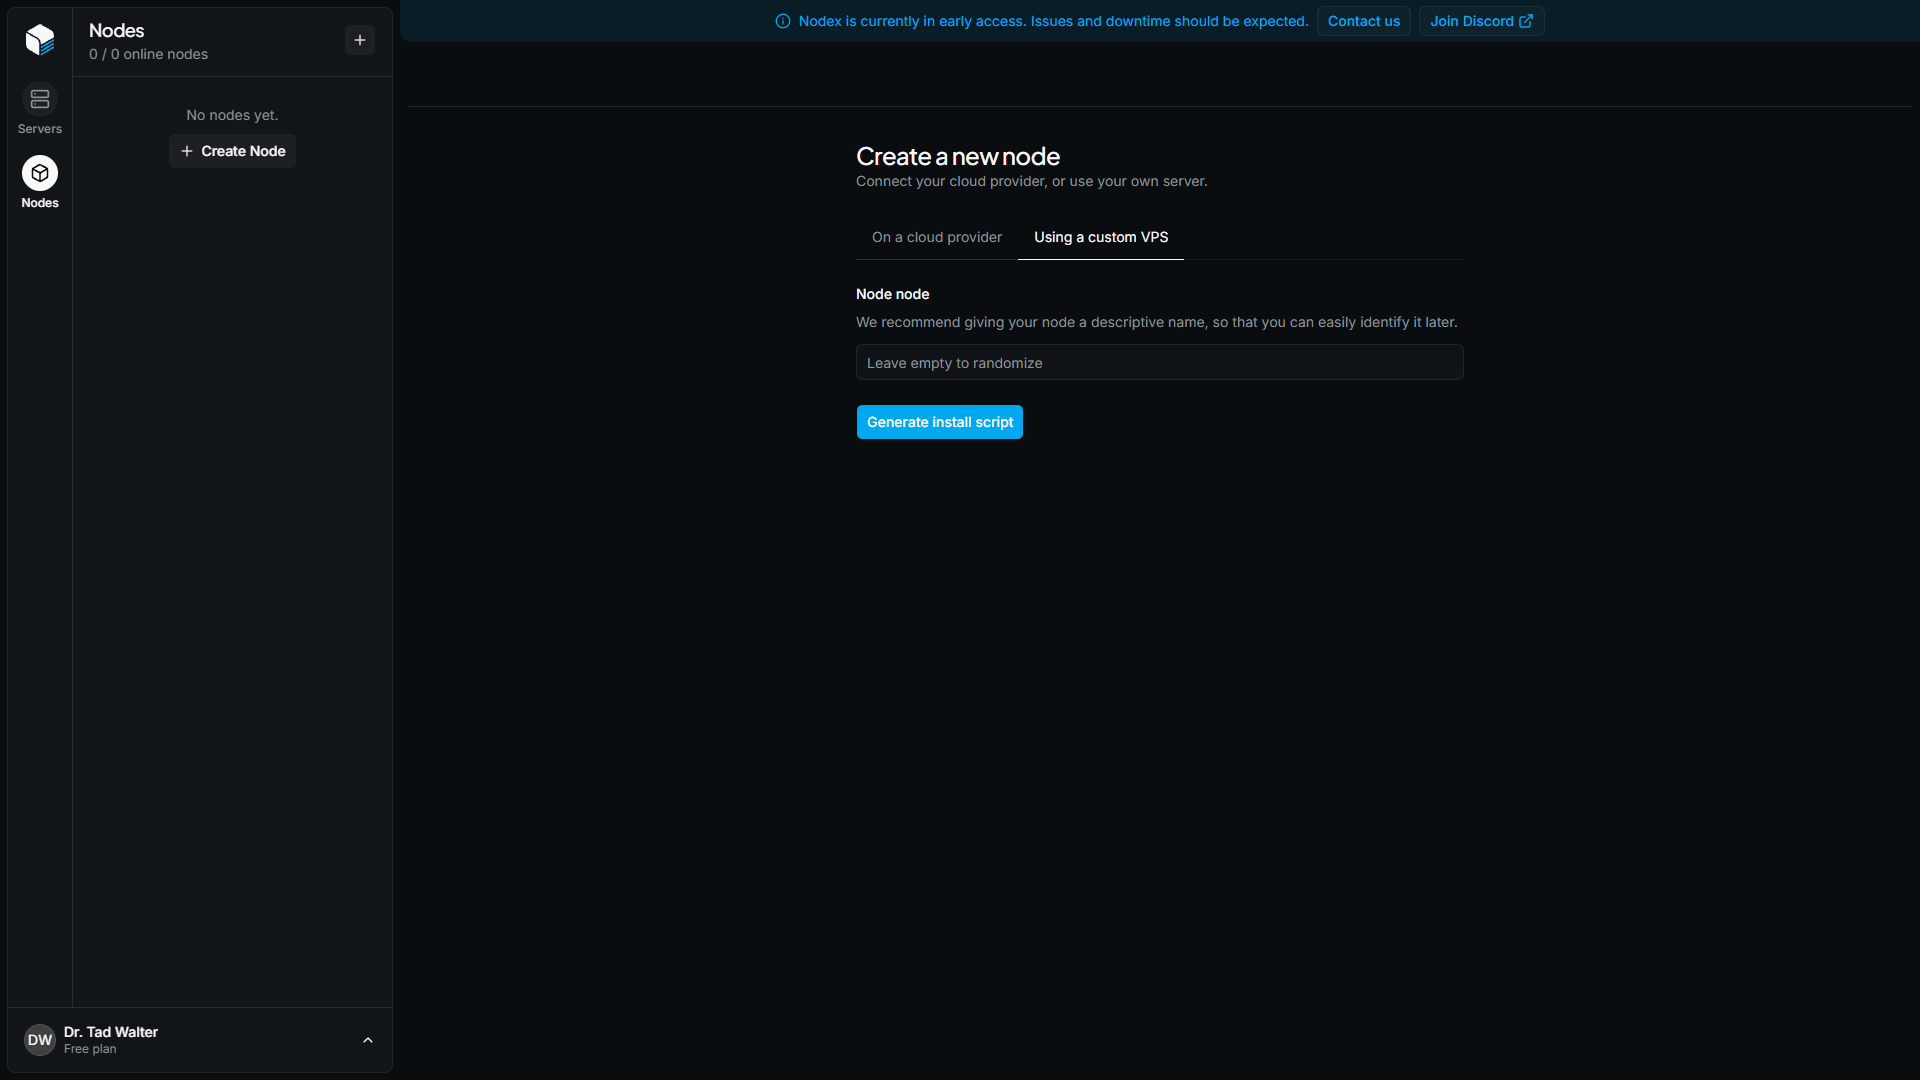
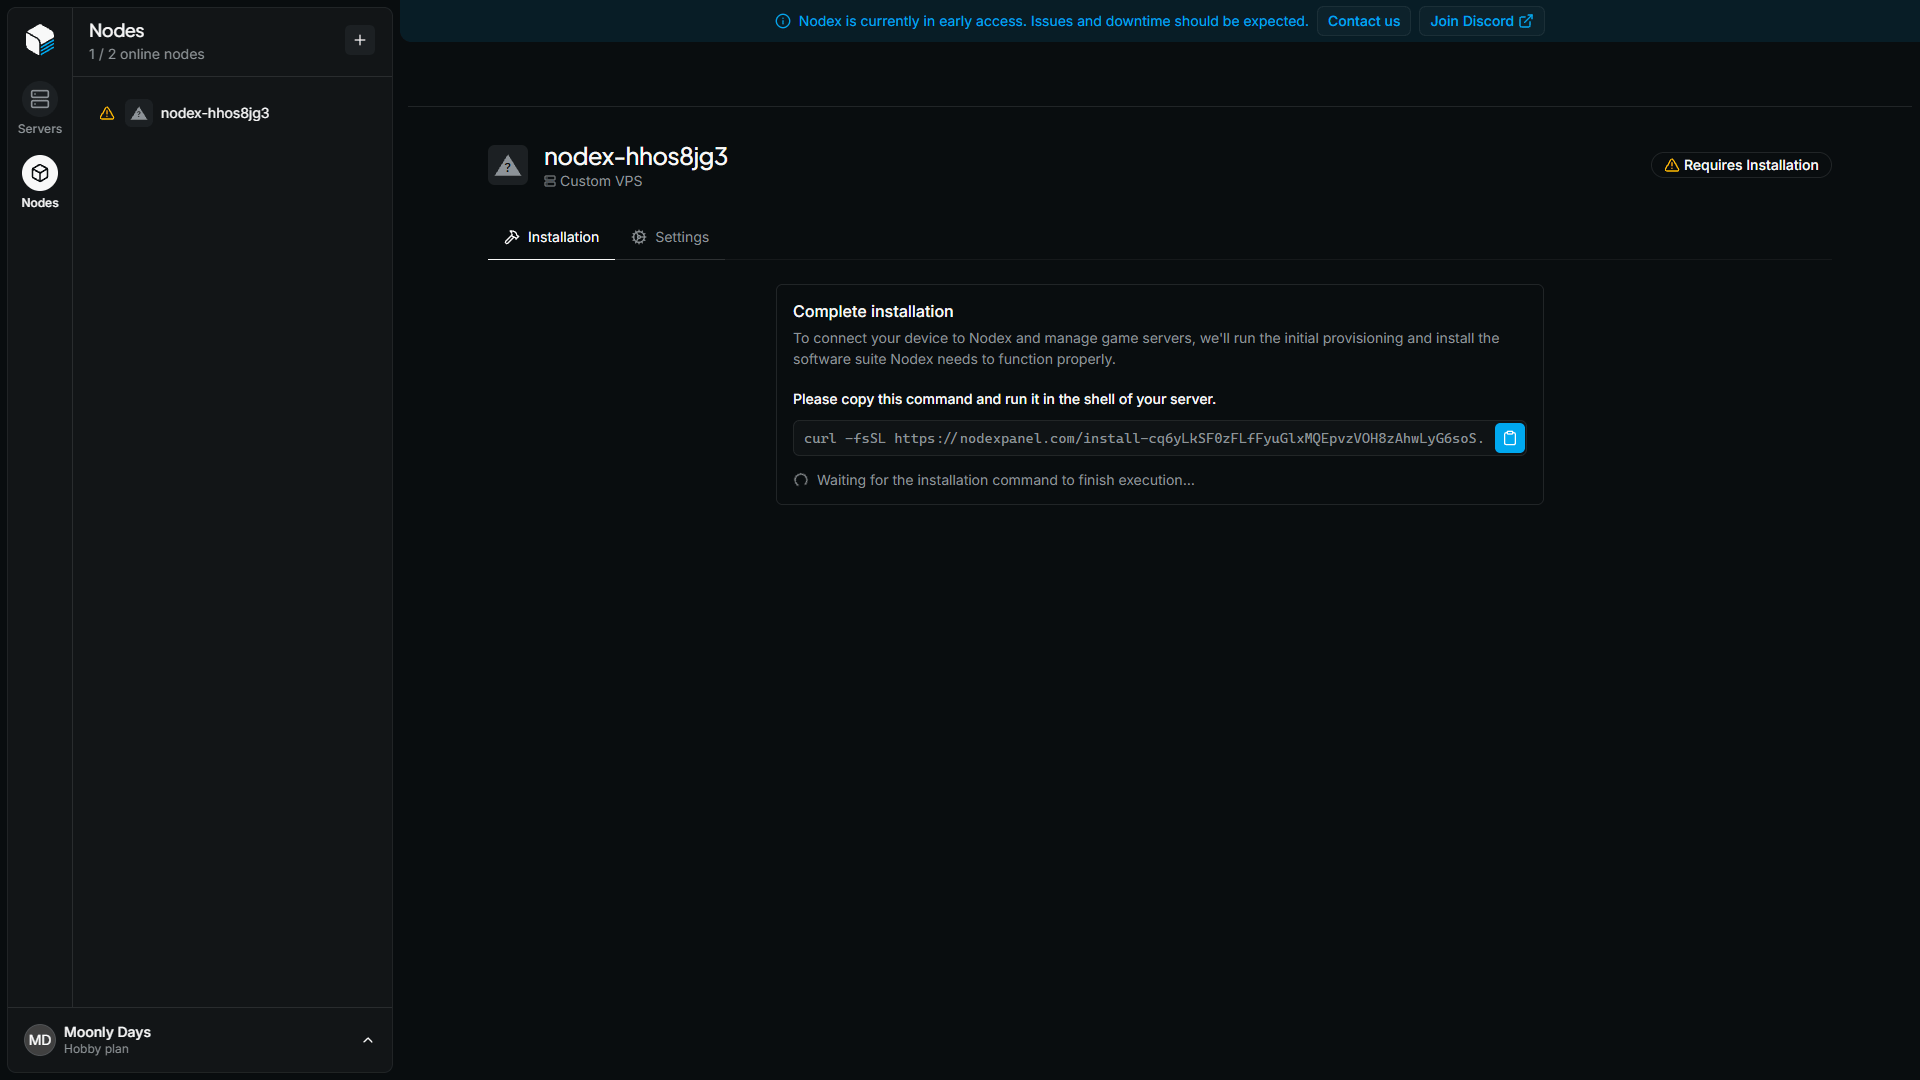
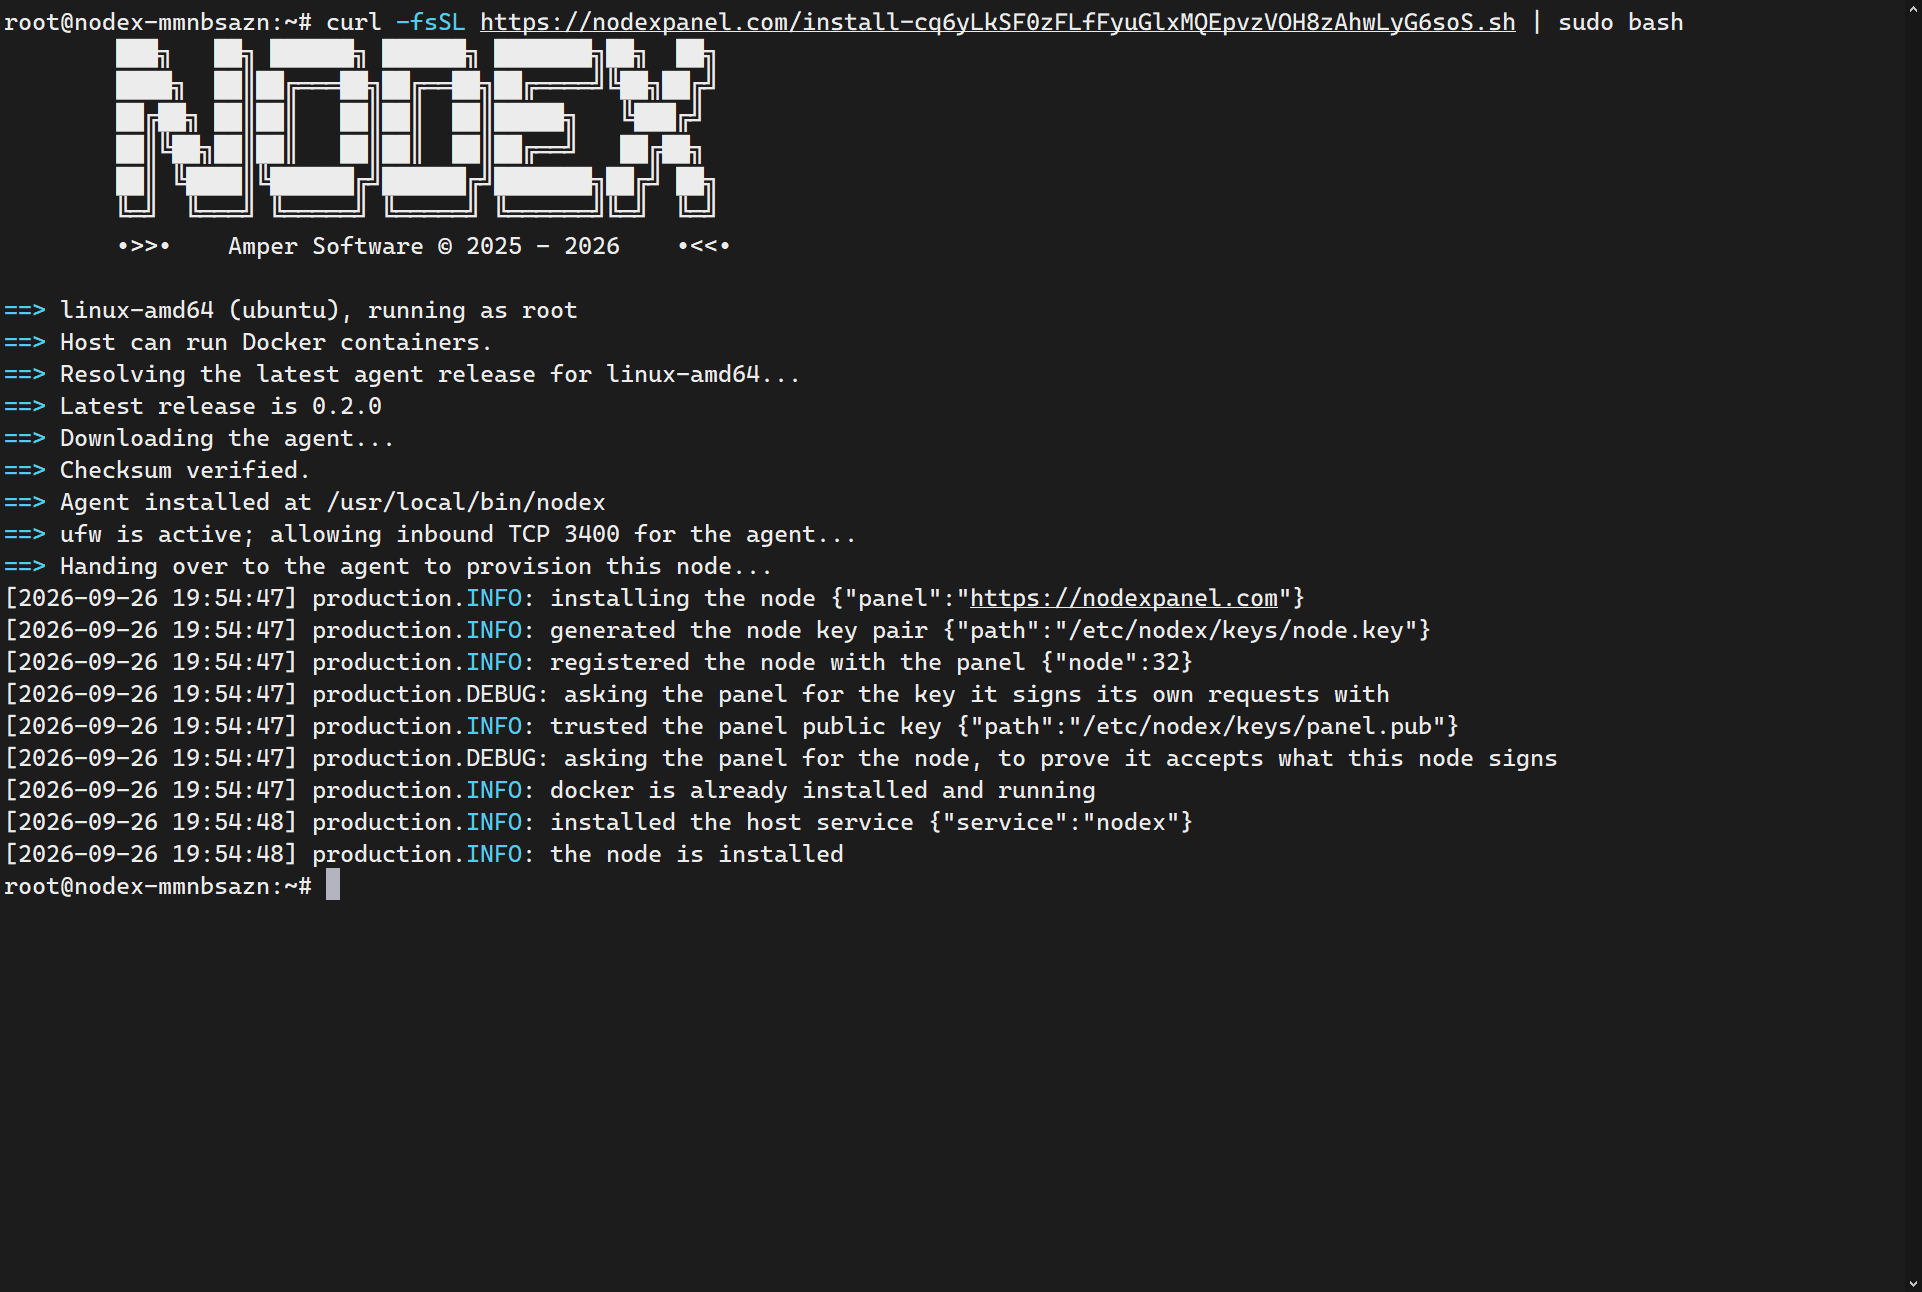
- Using a custom VPS
1
Create a node from your dashboard
From your main Nodex dashboard, click + Create Node.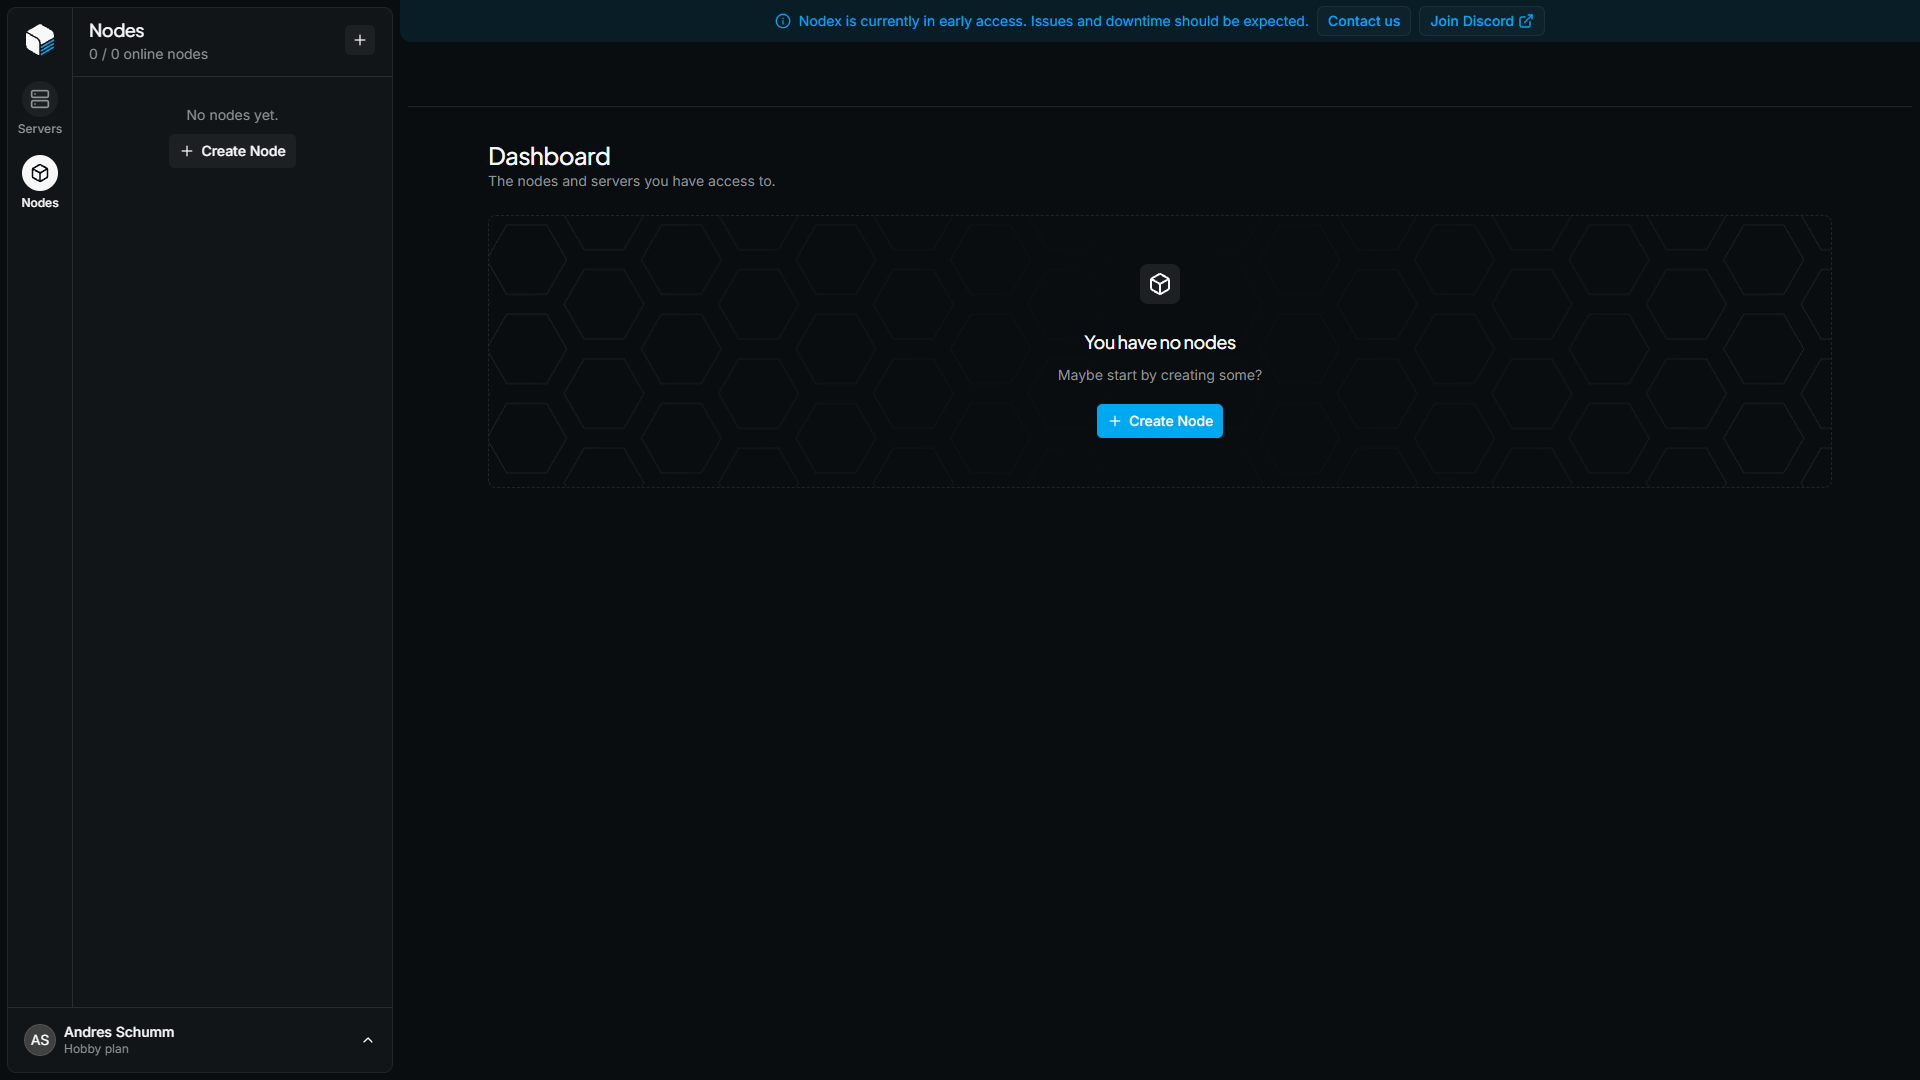
2
Connect your cloud provider
Select Connect Vultr or Connect DigitalOcean and follow the dialog. Depending on the provider, you’ll either paste in an API access token or authenticate through OAuth.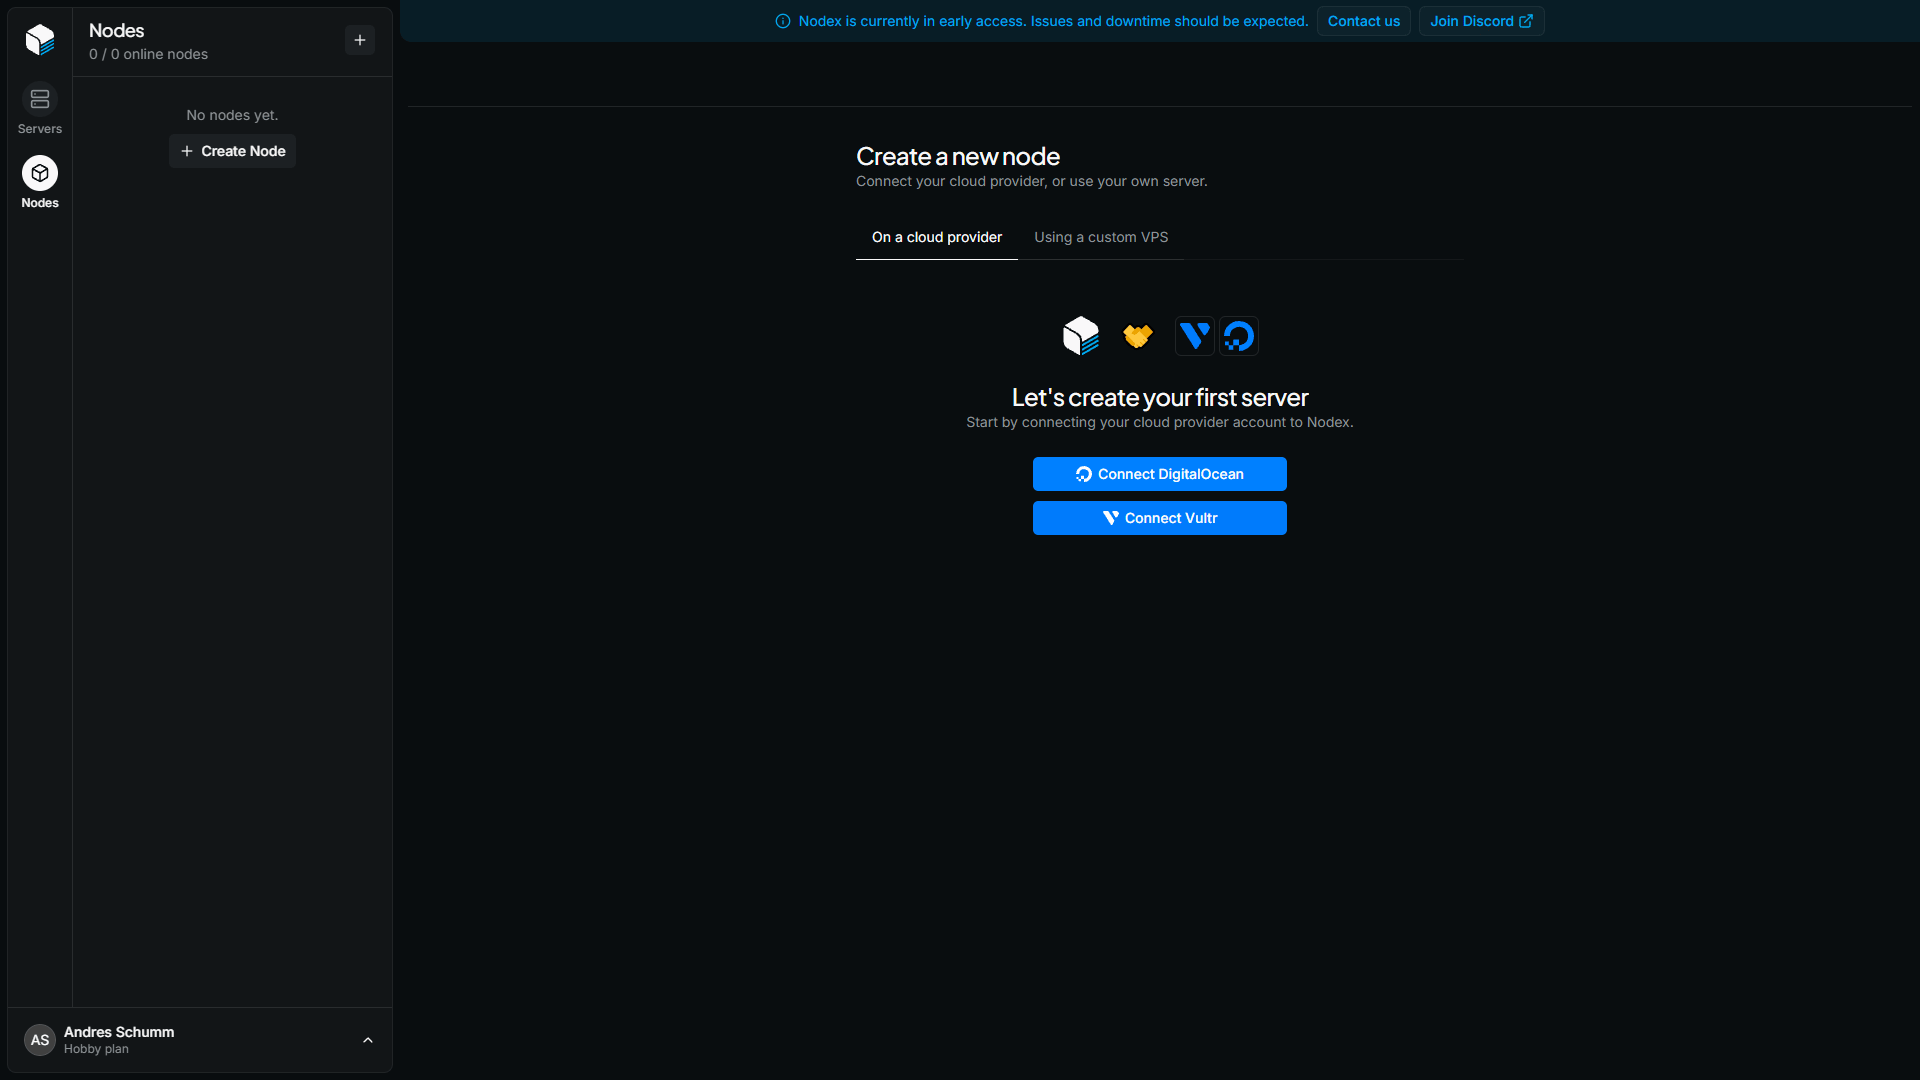
3
Configure and create the node
Give your node an optional name, then choose a region and an instance size. Click Submit when you’re done.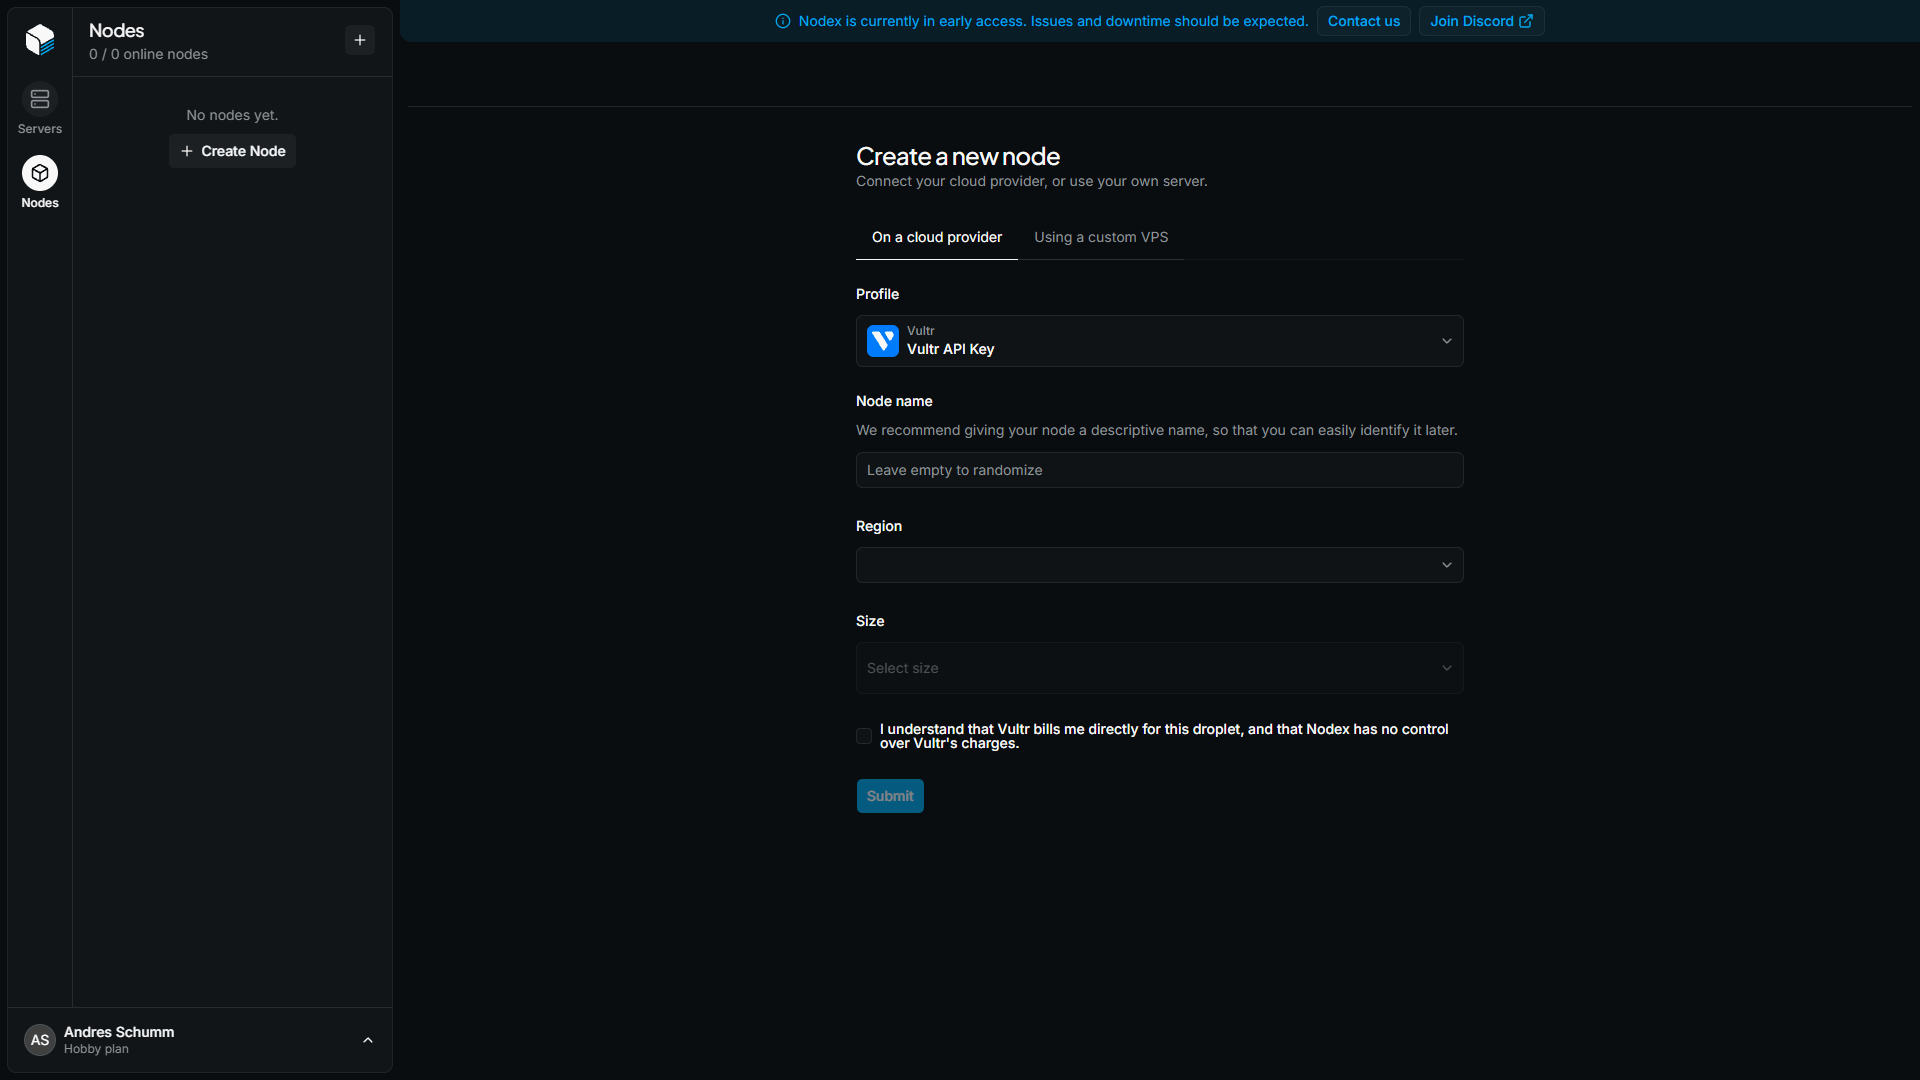
This creates a real instance with your cloud provider, billed at their standard rate as if you’d created it manually. Nodex has no control over your provider’s charges.
4
Wait for the node to provision
Nodex installs and configures the software the node needs to run servers. This usually takes a few minutes.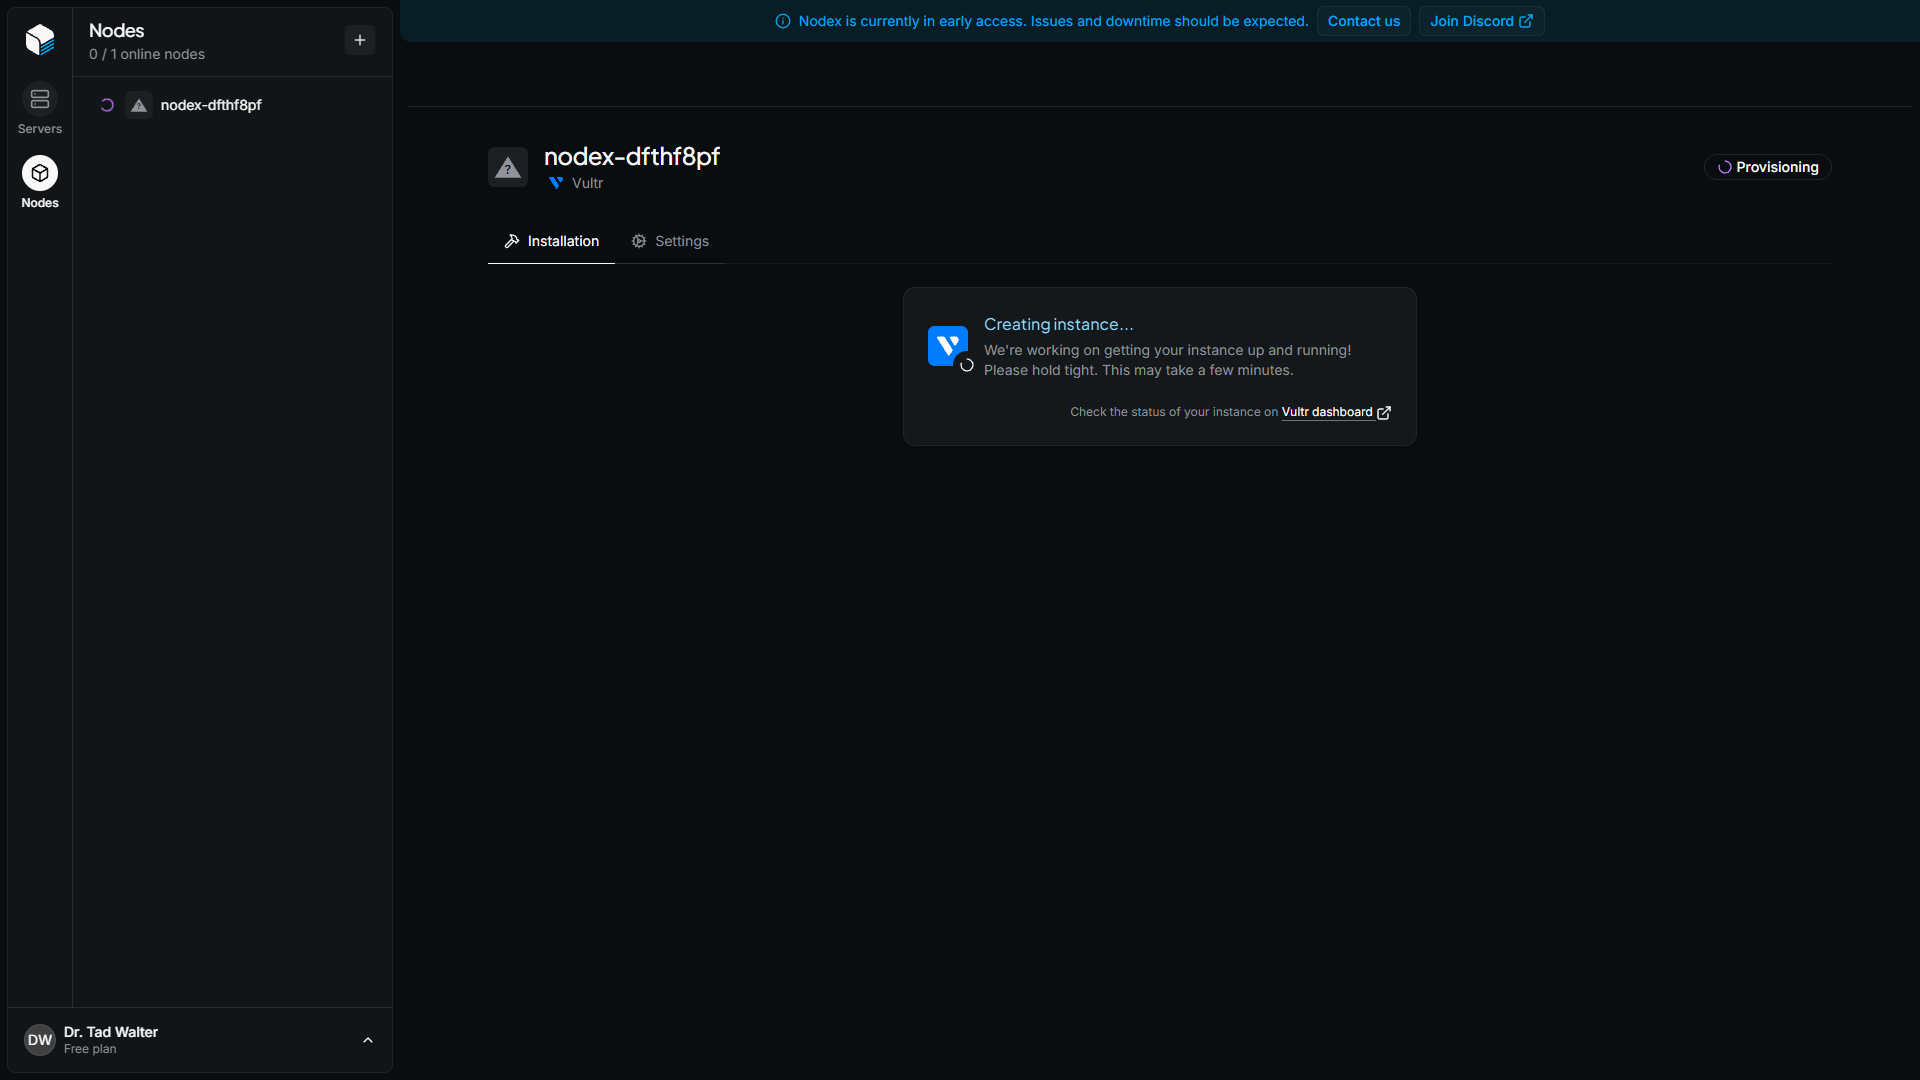
5
Your node is connected
You’re ready to create a server on it.
Create a server
Now you can create a dedicated game server on your node.1
Open the overview page of the node you just created
Click the blue + Create Server button. 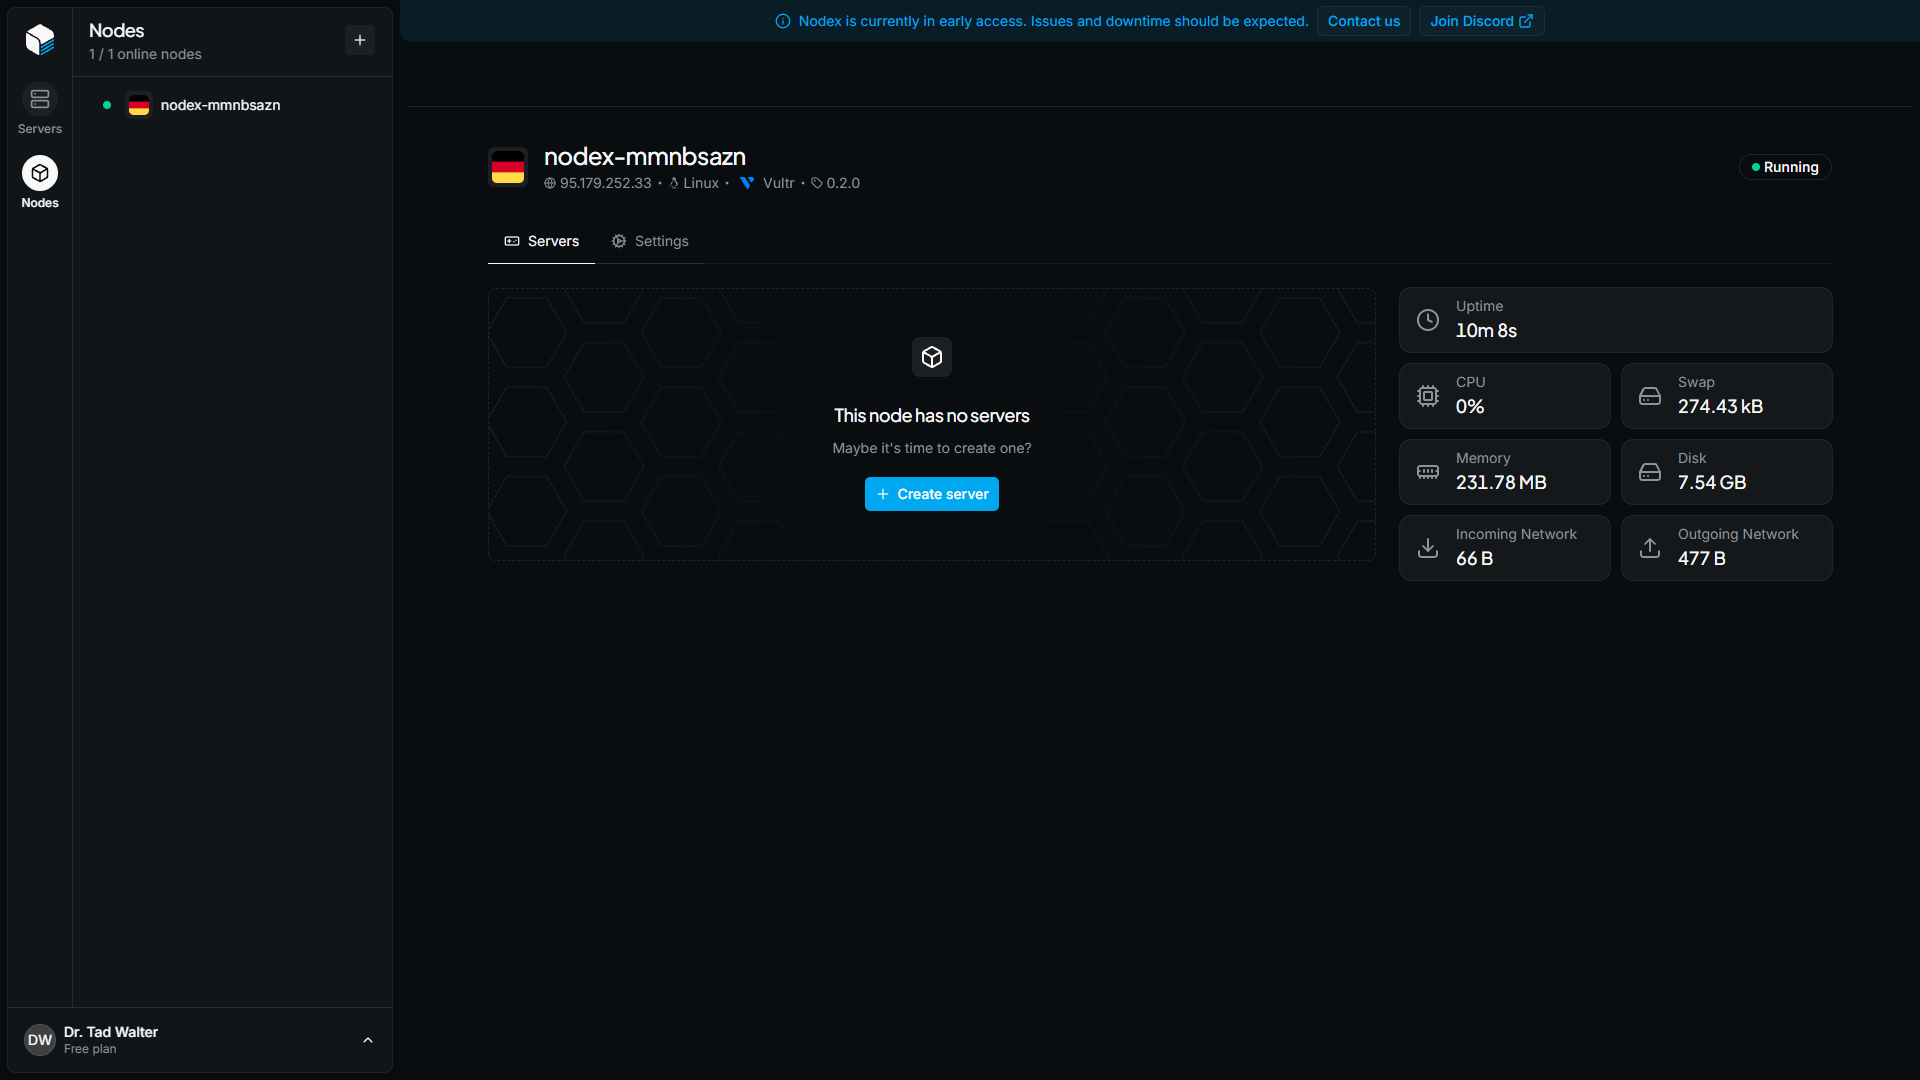
2
Choose the game for your server
The list of supported games is constantly expanding.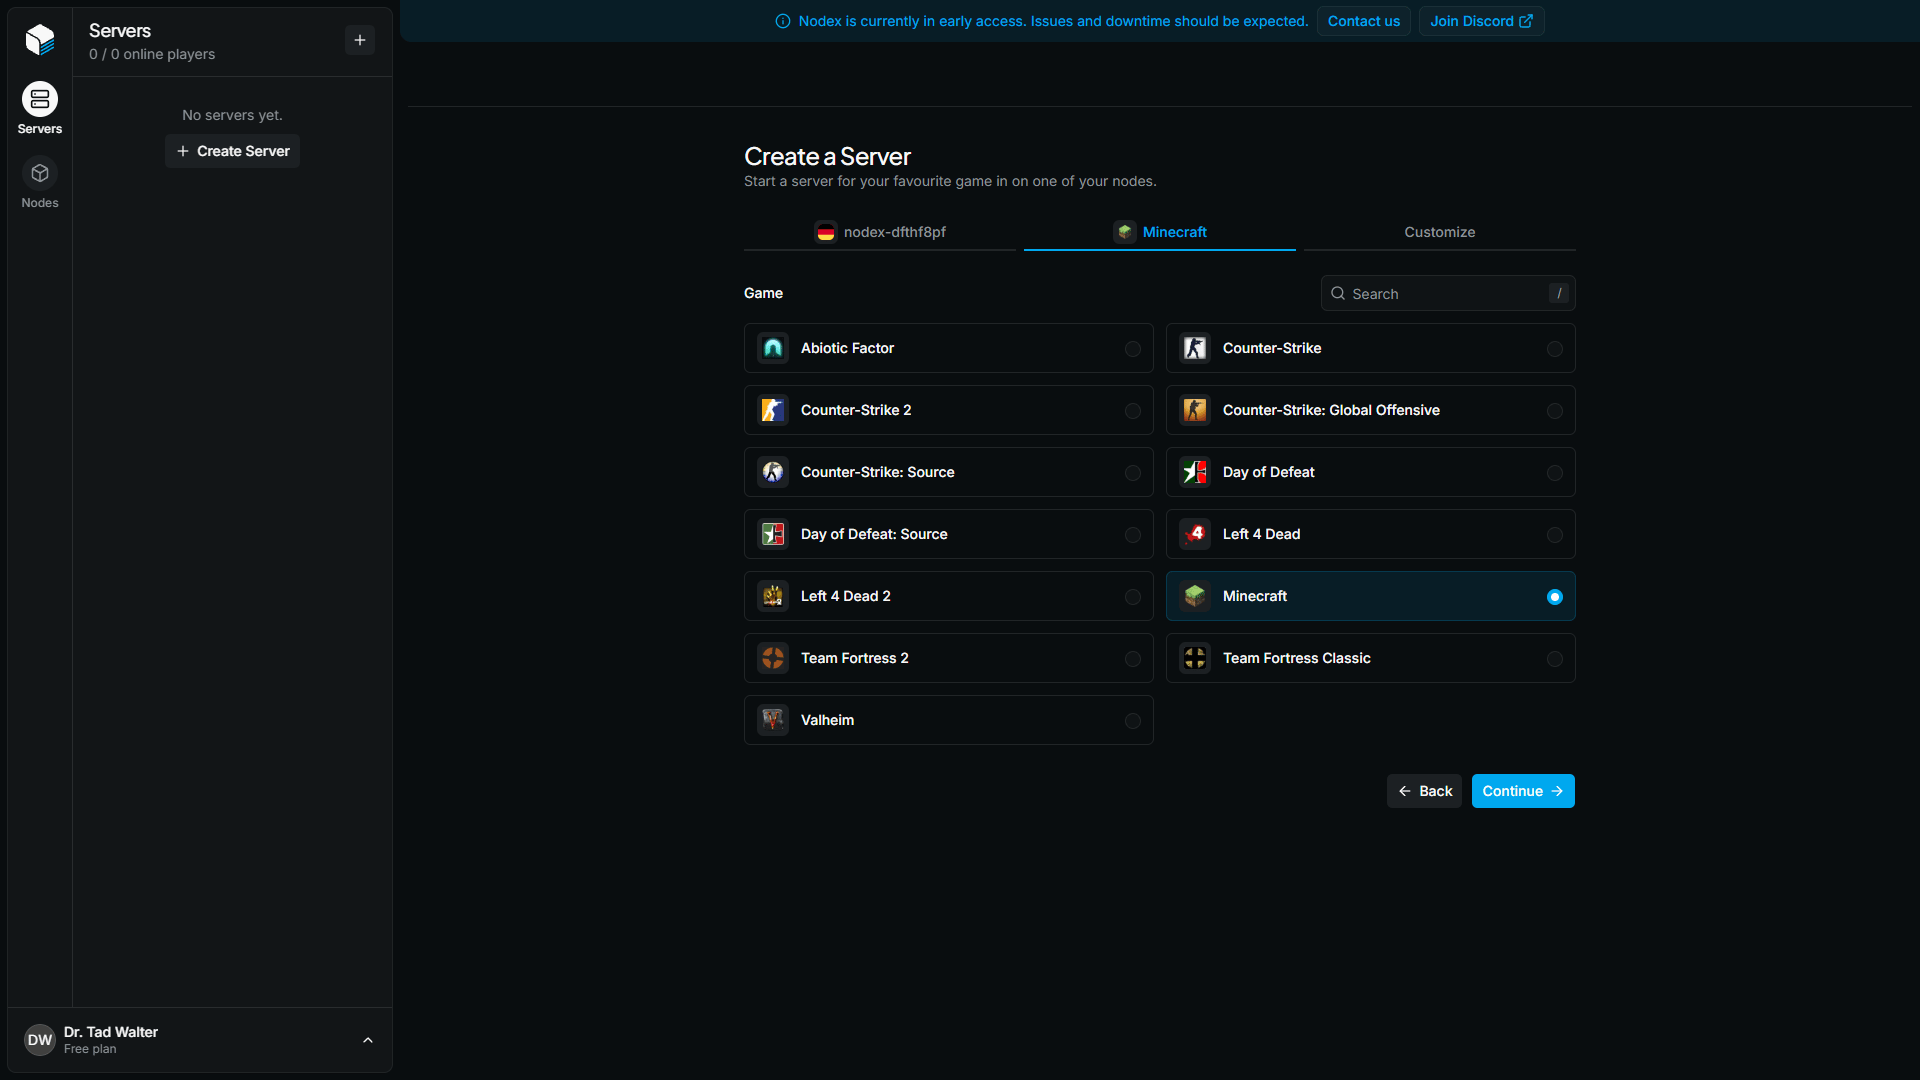
3
Customize your server
Give it a title, assign port allocations, and customize the startup parameters. Click Submit once you’re done.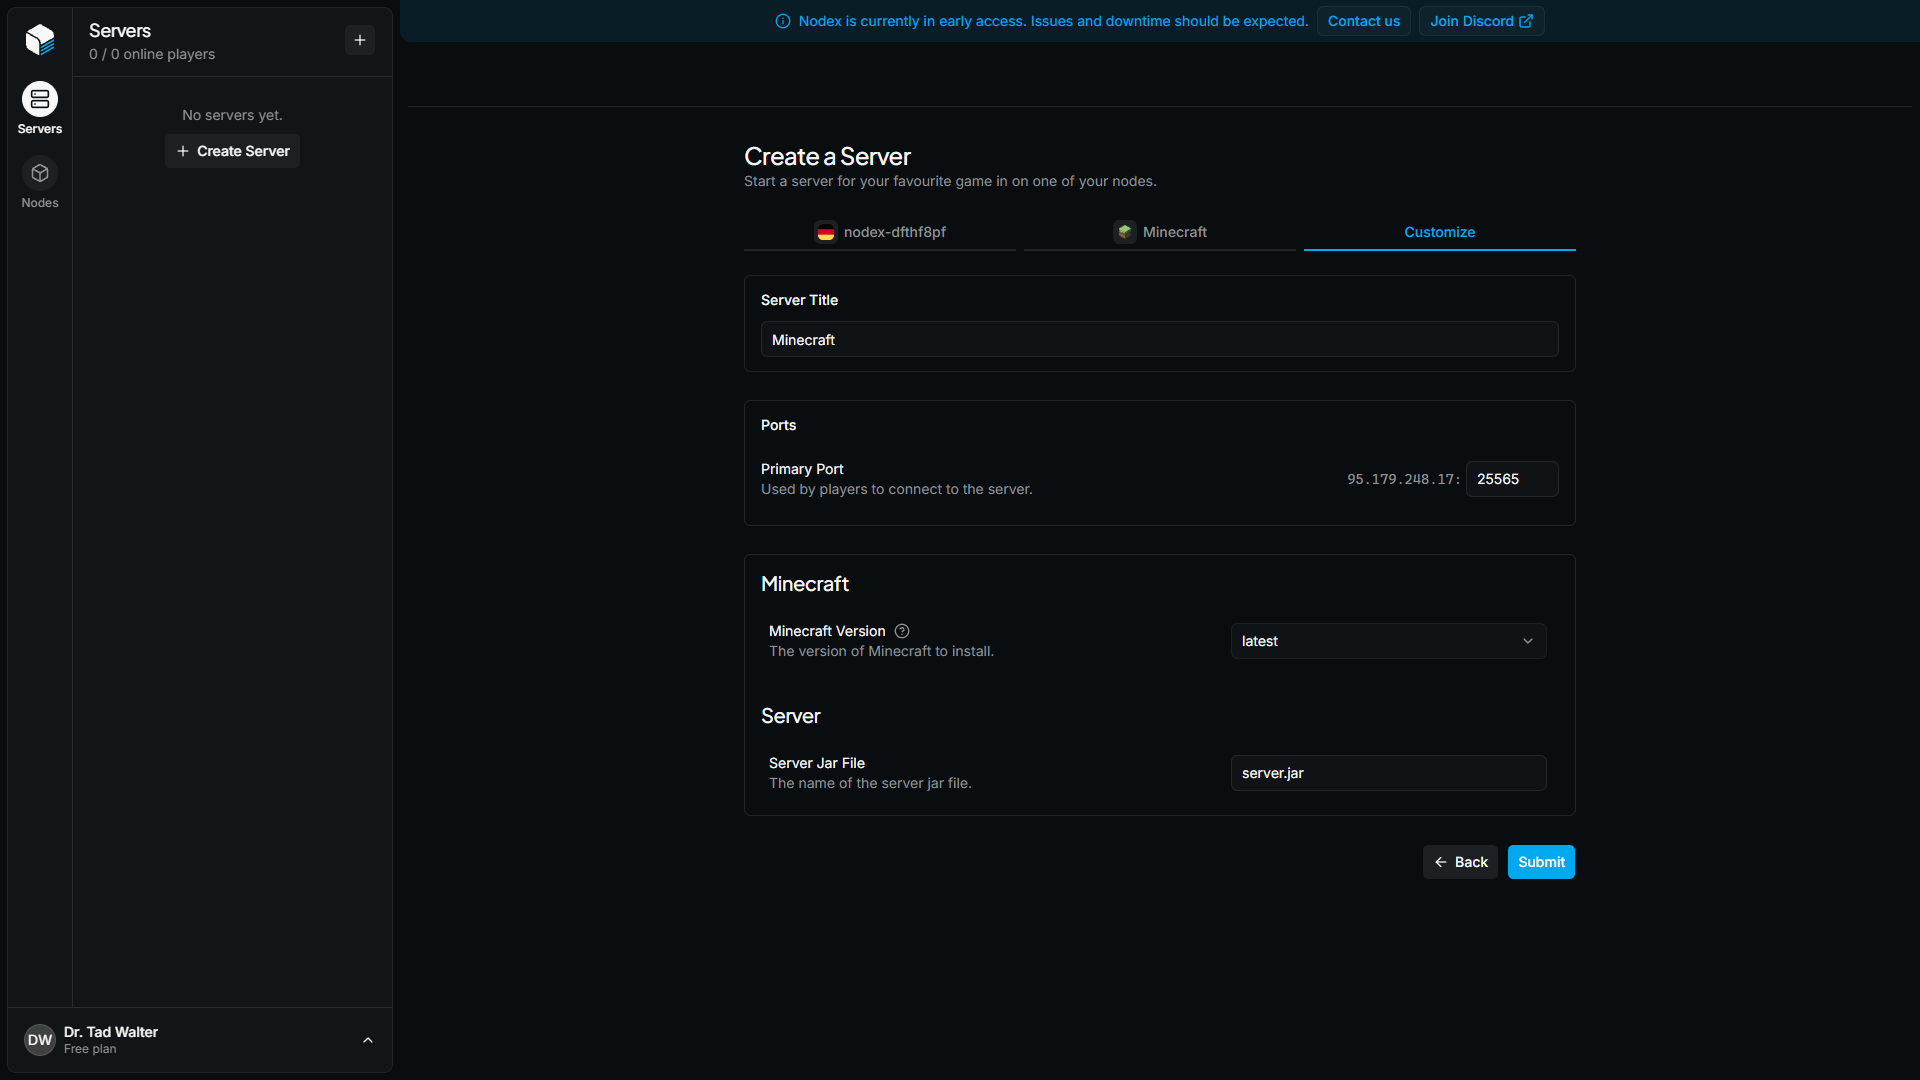
4
Wait for it to install
The server takes a few minutes to install, then starts automatically. Once it’s ready to play, it enters the Running state.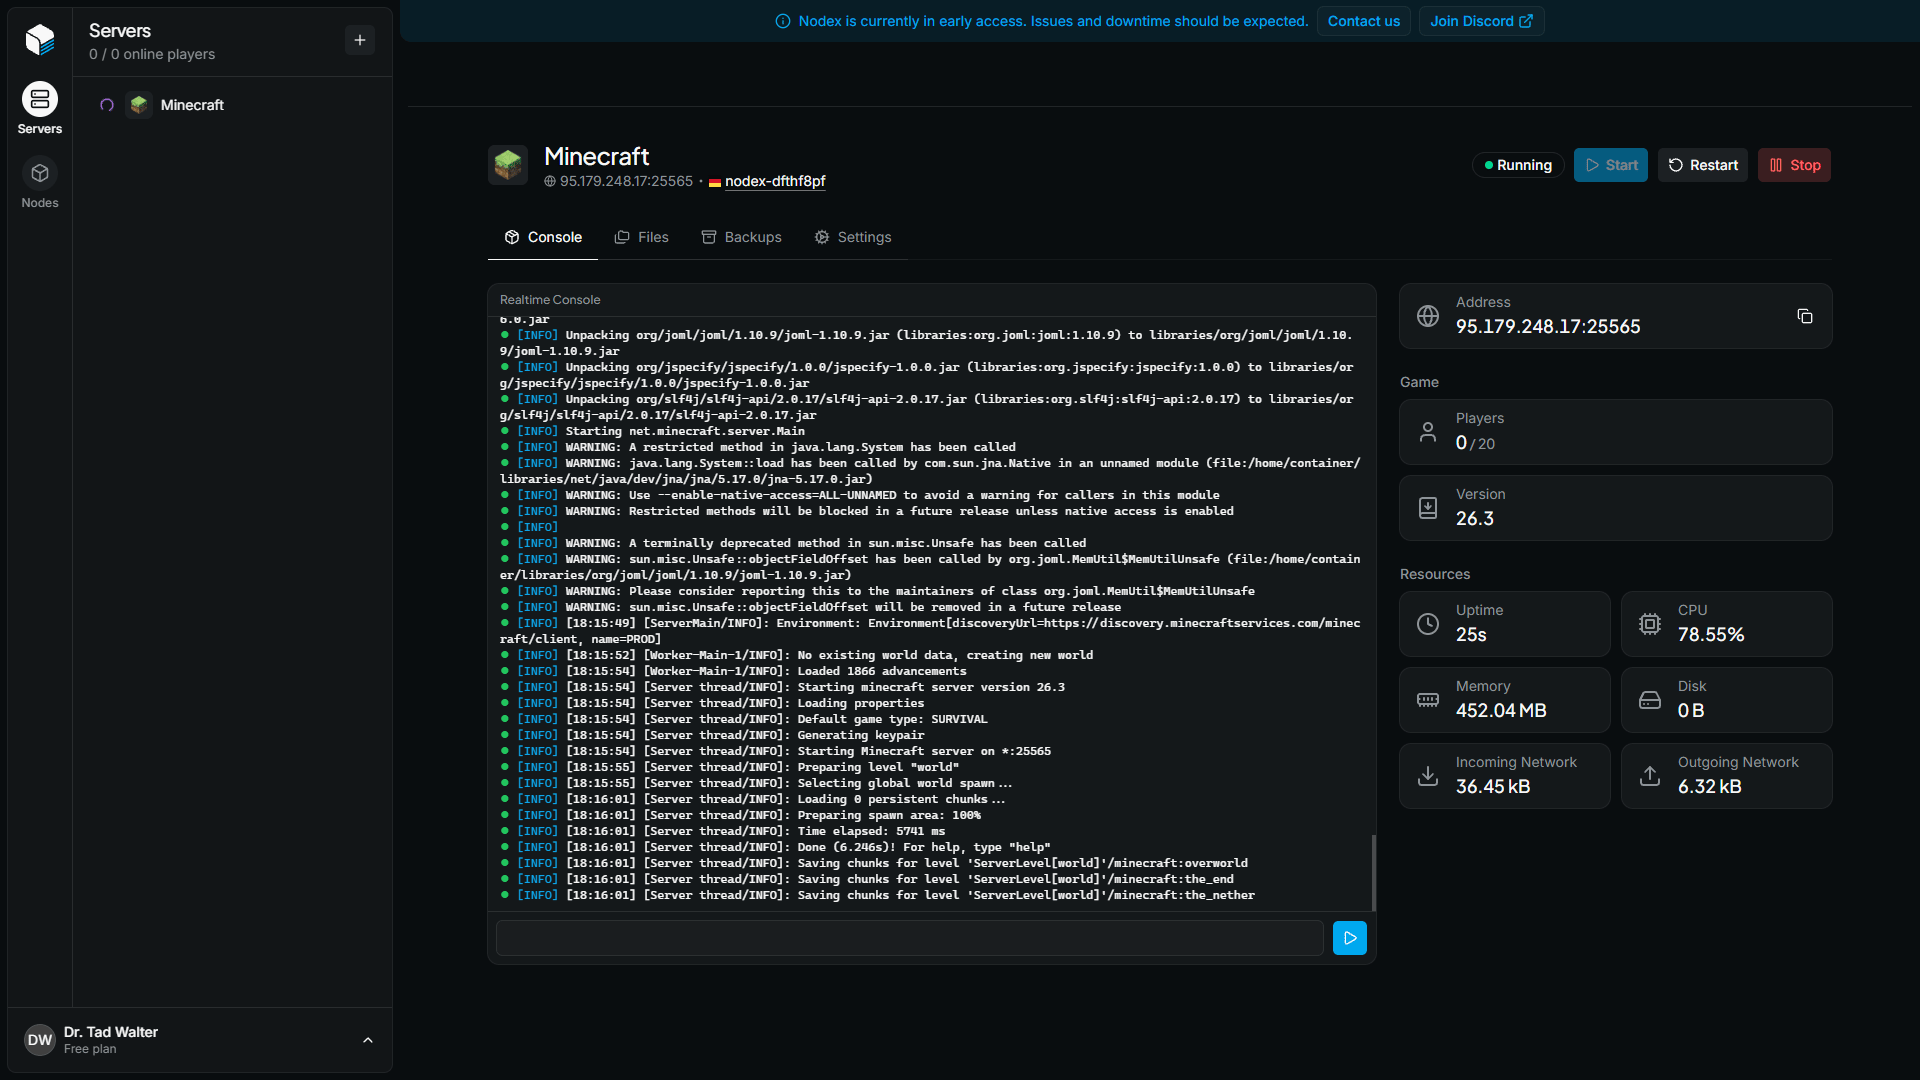
5
Join the server using its IP address