

Each plan has its own node limit. See Node limits.
Overview
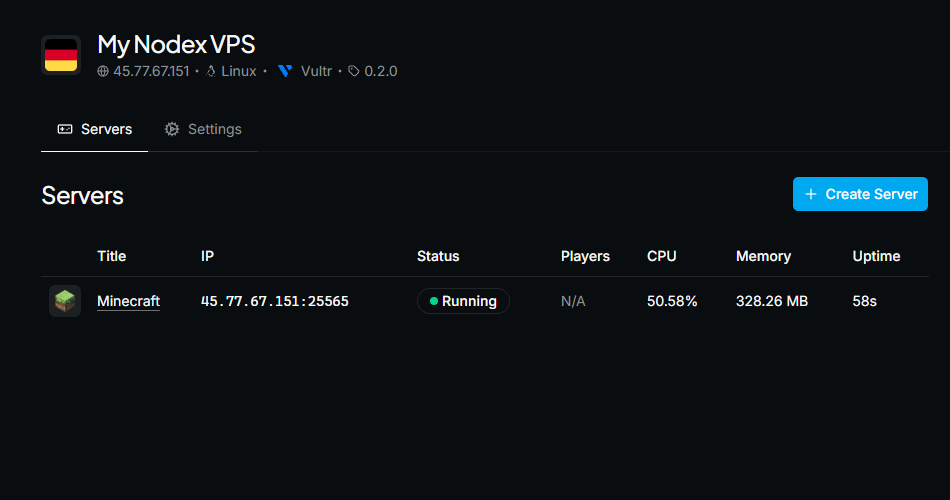
A node is a Linux machine connected to your Nodex account, where your game servers run. You may own one or several nodes. You may create a node by connecting your own VPS, or by using one of our cloud provider integrations to create a new compute instance from the Nodex dashboard. You may run more than one game server per node. For example, you may run a Team Fortress 2 server and a Minecraft server on the same node. All servers on a node share its CPU, RAM, and disk space. Overcommitting the node may degrade performance. Its overview page shows live resource usage.Create nodes
To create a new node:- Open the Nodex dashboard.
- Open the Nodes tab in the dashboard sidebar.
- Click the + button at the top of the tab.
Node limits
The number of nodes you can create depends on your subscription:Create a node using provider connections
You may use your provider connections to create a cloud compute instance from the dashboard. Nodex provisions the instance and connects it automatically. On the node creation page:- Open the On a cloud provider tab
- Choose a provider connection
- Give your node a recognizable name, or leave it empty to get a random one
- Select a region
- Select a size
- Select the checkbox to confirm that your provider bills you for the instance and Nodex does not control those charges
- Click Submit
Create a node using a custom VPS
Make sure your server meets the custom VPS requirements. Then, on the node creation page:- Open the Using a custom VPS tab
- Give your node a recognizable name, or leave it empty to get a random one
- Click Generate install script
- Copy the generated install command
- Open a console on your VPS and run the command
Node settings
To open the settings of a node, click its Settings tab. The settings are split into General and Network.General
To rename a node, change the Title field and click Submit. The Danger zone section contains the option to delete the node.Network
The Network page lists every port allocated on the node. For each allocation, the table shows:
Click the button at the end of a row and choose Edit to change the port. Ports must be between 1024 and 65535, and each port may be used by only one server on the node. See Network for details.
Delete an existing node
If you no longer need a node, you may delete it. After deletion, you can no longer manage the node from the dashboard. To delete a node:- Open your node’s Settings tab
- Scroll down to the Danger zone section
- In the Delete this node section, click the Delete button
Preserve everything
Use this option to disconnect Nodex from your node while keeping all server data. To access the preserved files afterward, connect to your VPS over a remote shell such as SSH and download them. You may use this option if:- You want to migrate away from Nodex and manage your servers another way
- You no longer need the node in Nodex, but want to keep your server files
Delete server files
Use this option to disconnect the node from Nodex and permanently remove the files of all servers on it. Local backups are not deleted. We recommend this option if you no longer need the node or its servers.Delete provider instance
This option is only available if you created the node through an active cloud provider connection.