

Overview
The file browser lets you manage the files of a server from the Nodex dashboard. You may browse directories, edit text files, upload and download files, and create archives. For example, open a server’s configuration file to change a setting, or download a log file to read it on your computer. To open it, click the Files tab on the server’s overview page.Browse files
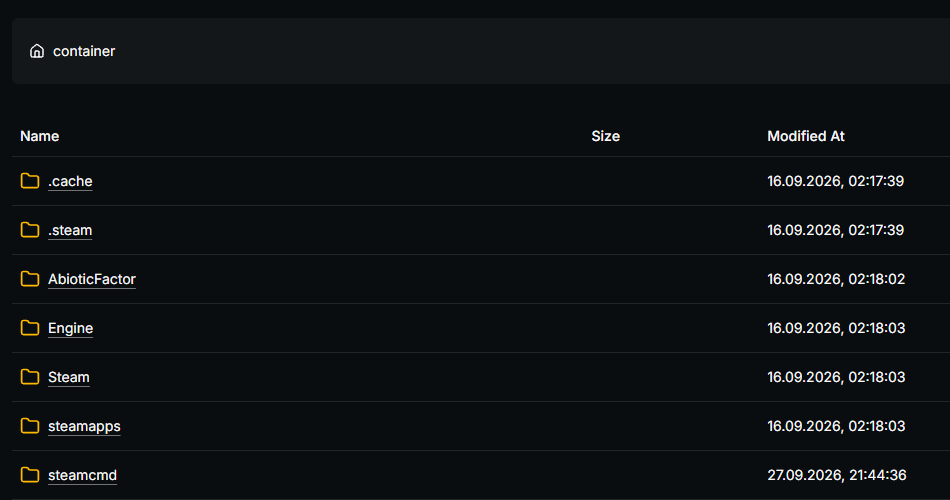
The file browser opens in the root directory of the server, shown as container in the path bar at the top of the page. Click a directory to open it. Click any part of the path bar to go back to a parent directory. For each entry in the directory, the table shows:Create files and directories
The buttons at the top of the page create new entries in the directory you are viewing:- Click Create File or Create Directory
- Enter the name of the new file or directory in the Path field
- Click the confirmation button
Upload files
To upload files to the directory you are viewing:- Click Upload, or drag files onto the file list
- Drag and drop the files into the dialog, or click it to browse your computer
- Review the list of files, and click the button next to any file you don’t want to upload
- Click Upload
Edit a file
Click the name of a file to open it in the editor. Edit the contents, then click Save to write your changes to the server. Click Cancel to return to the directory without saving. Binary files cannot be edited. When you open one, the page shows a Download button instead of the editor.Edit as config
Game settings files show an Edit as Config button above the editor. Click it to edit the file’s settings through a form instead of as plain text.Manage files and directories
Click the button at the end of a row to open the actions menu of a file or directory.Rename
Choose Rename, enter the new name, and confirm.Copy
Choose Copy, enter the name for the copy in the Destination field, and confirm.Download
Choose Download to download the file to your computer. This action is only available for files.Archive
Choose Archive to create a compressed archive of the file or directory. The Destination field defaults to the entry’s name followed by.zip. You may change it before confirming.