
Locations
DigitalOcean offers Droplets in North America, Europe, Asia, and Australia.North America
- New York, US
- San Francisco, US
- Atlanta, US
- Richmond, US
- Kansas, US
- Memphis, US
- Toronto, CA
Europe
- London, GB
- Amsterdam, NL
- Frankfurt, DE
Asia
- Singapore, SG
- Bangalore, IN
Australia
- Sydney, AU
For the most up-to-date list, see the DigitalOcean regional availability page.
Sizes
DigitalOcean offers the following sizes of Droplets:Premium Intel
Shared CPU Droplets with Premium Intel CPUs and NVMe SSD storage.Some sizes are only available in specific regions. Check the node creation form for the sizes available in your region.
Create a connection
To connect your DigitalOcean account, open Settings > Providers and click DigitalOcean in the Add Provider section. A dialog opens with two ways to connect.Login with DigitalOcean
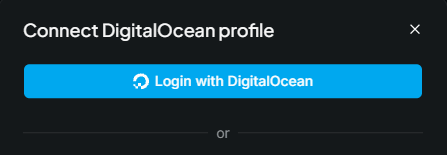
The quickest way to connect is to sign in with your DigitalOcean account through OAuth.1
Click the Login with DigitalOcean button.
2
Authorize the connection
Click the Authorize Authorization button to continue.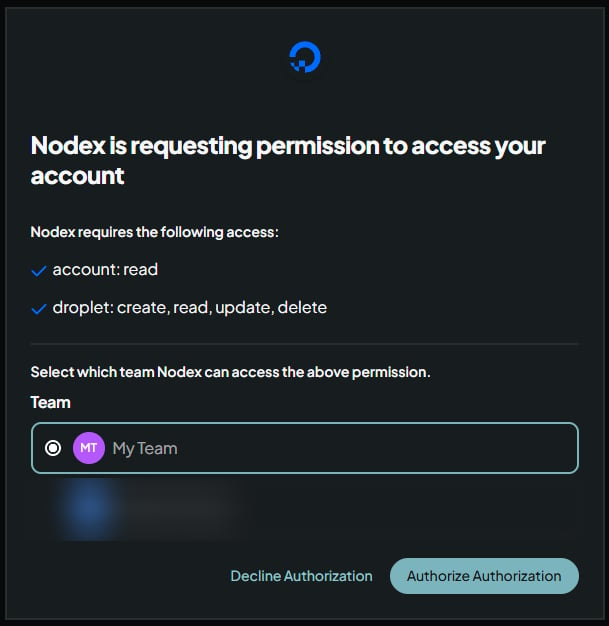
3
Your DigitalOcean account is now connected!
Create a DigitalOcean API key
Alternatively, create a DigitalOcean API key. The key allows Nodex to perform certain actions in DigitalOcean on your behalf. To create a new key:1
In the DigitalOcean dashboard, open Account > API
Click the Generate New Token button.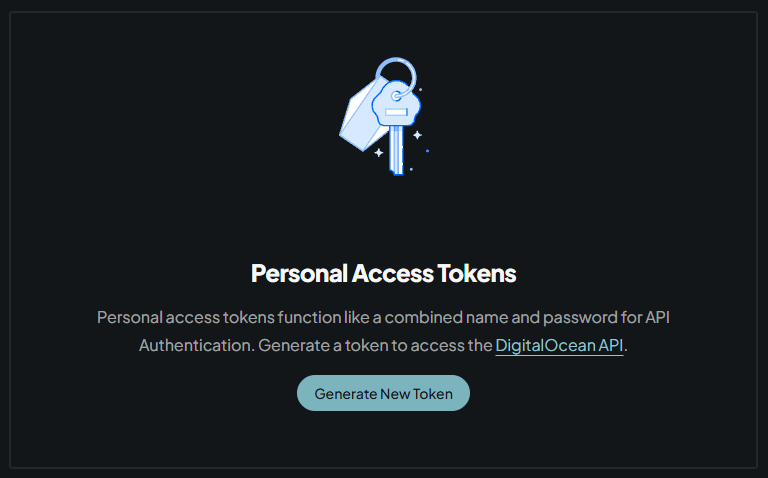
2
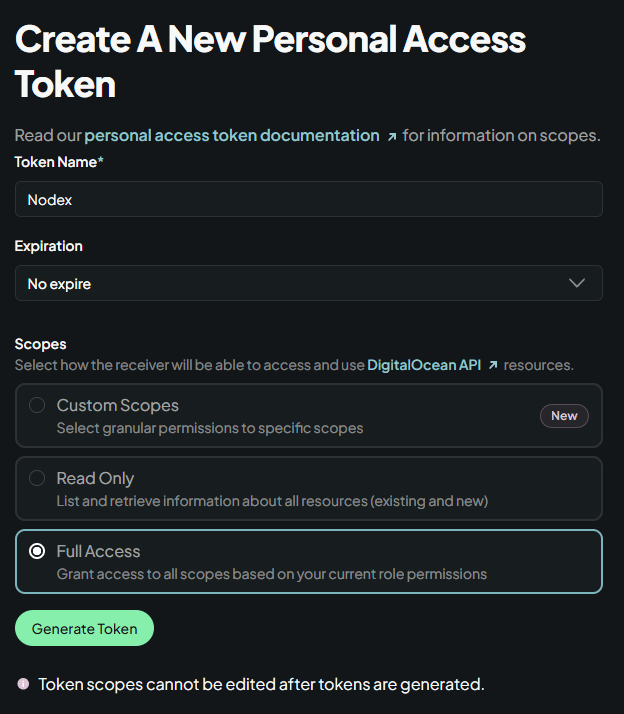
Customize your key
- Enter any name for the key. “Nodex” works well.
- Set Expiration to No expire.
- Set Scopes to Full Access.
- Click Generate Token.
If your security requirements do not allow "Full Access"
If your security requirements do not allow "Full Access"
You may switch to “Custom Scopes” and select only the scopes Nodex requires:
- account:read
- droplet:create
- droplet:read
- droplet:update
- droplet:delete
3
Copy the key
Click the button next to the key to copy it.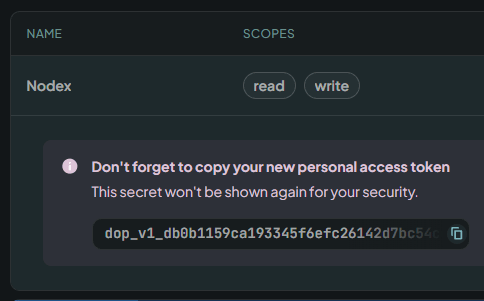
4
Go back to Nodex
Paste your API key into the key field and click Submit.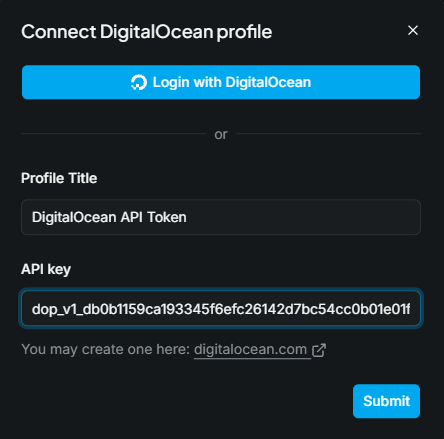
5
Your DigitalOcean account is now connected!