> ## Documentation Index
> Fetch the complete documentation index at: https://docs.nodexpanel.com/llms.txt
> Use this file to discover all available pages before exploring further.
# Quickstart
> Get started with Nodex and deploy your first server in minutes.
## Create a node
Start by creating a [node](/nodes). If you already have a Linux server, you may connect it to Nodex. If you don't have one, you may use our built-in integrations with cloud providers such as DigitalOcean and Vultr.
From your main Nodex dashboard, click **+ Create Node**.
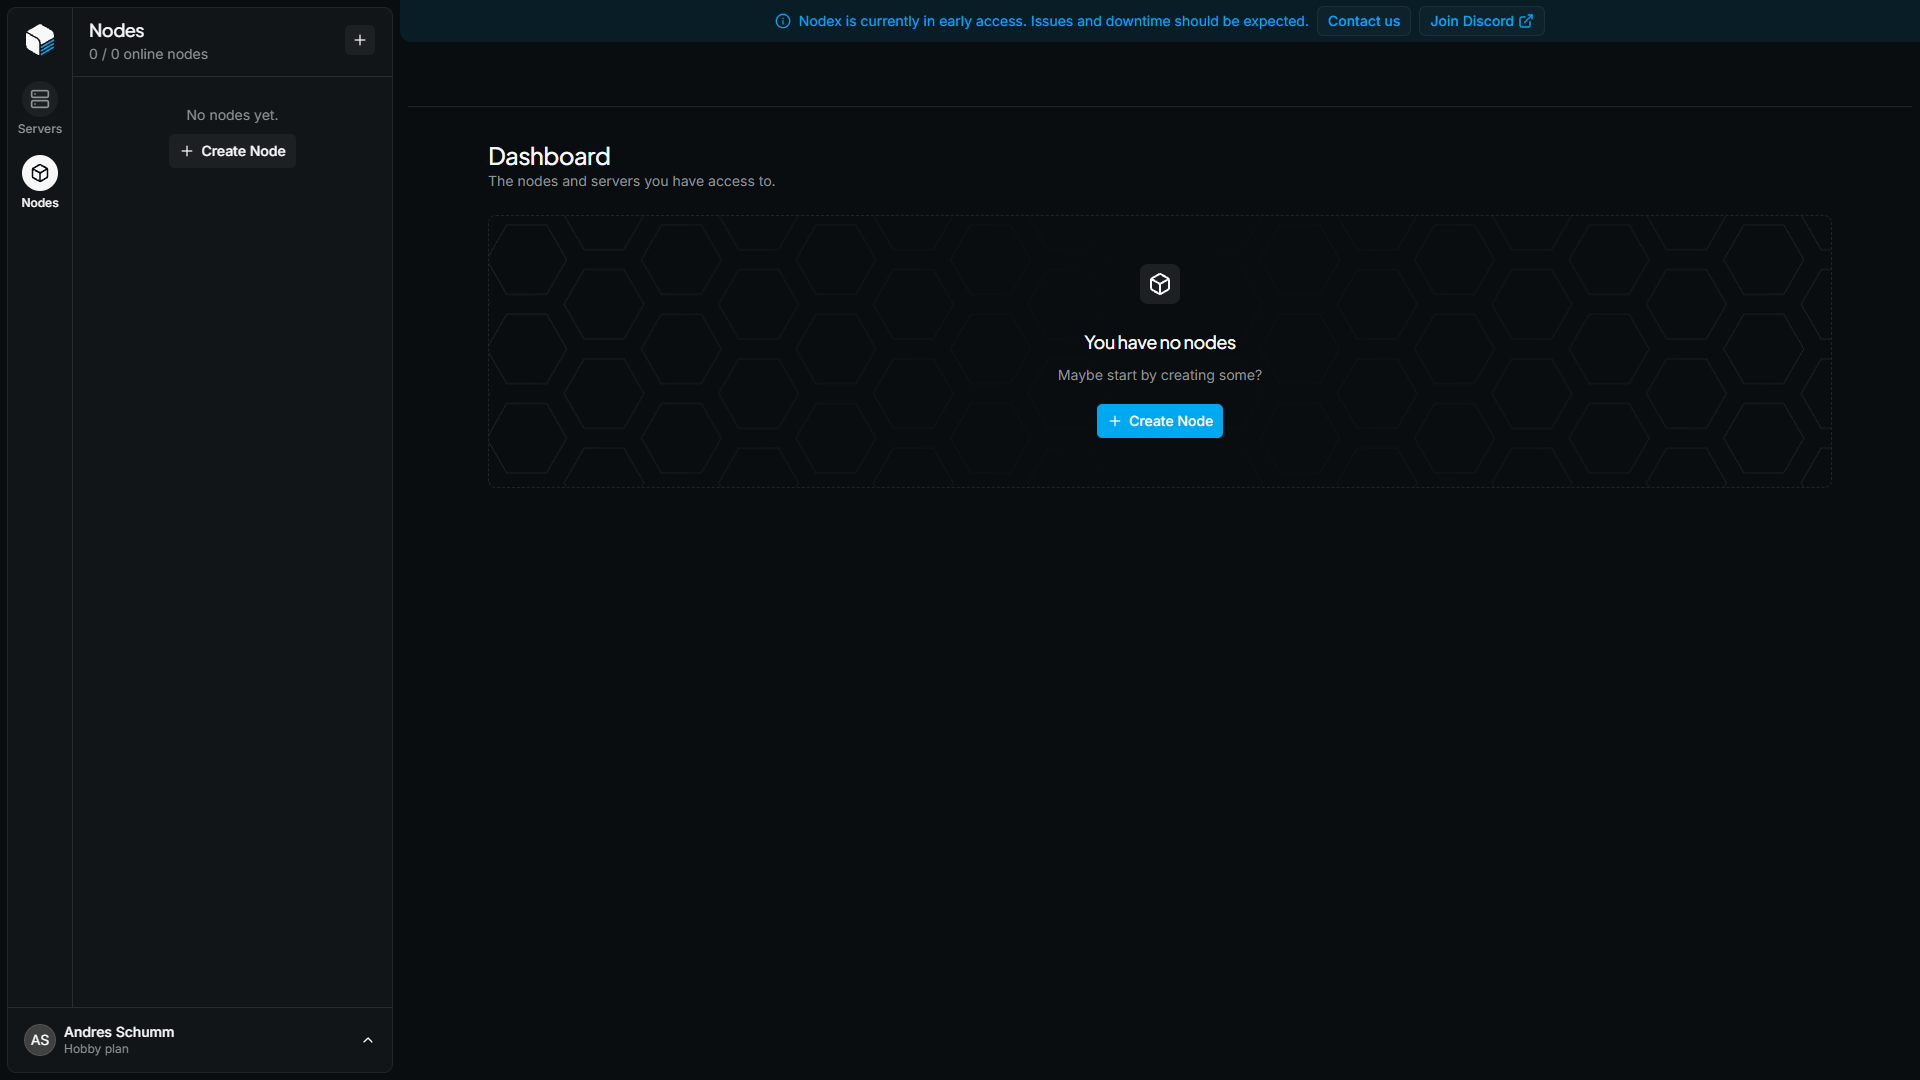 Select **Connect Vultr** or **Connect DigitalOcean** and follow the dialog. Depending on the provider, you'll either paste in an API access token or authenticate through OAuth.
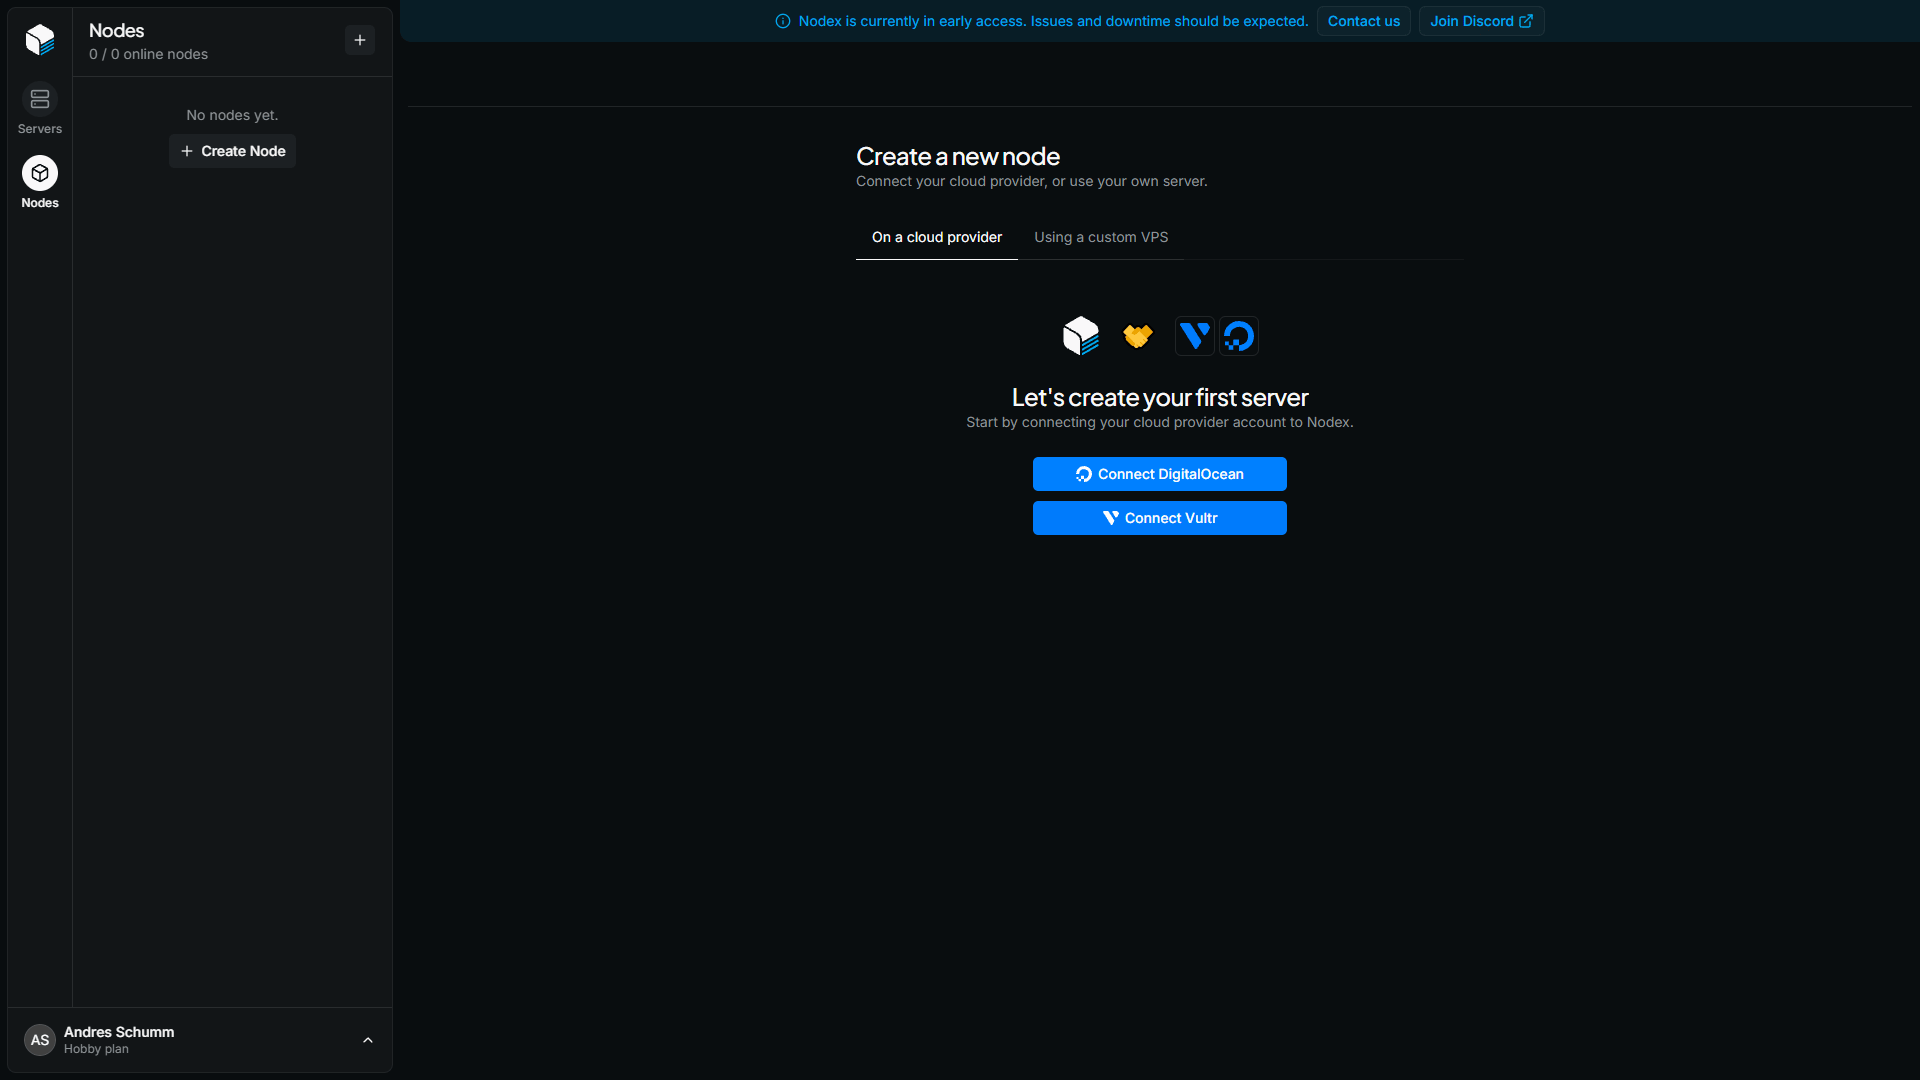 Give your node an optional name, then choose a region and an instance size. Click **Submit** when you're done.
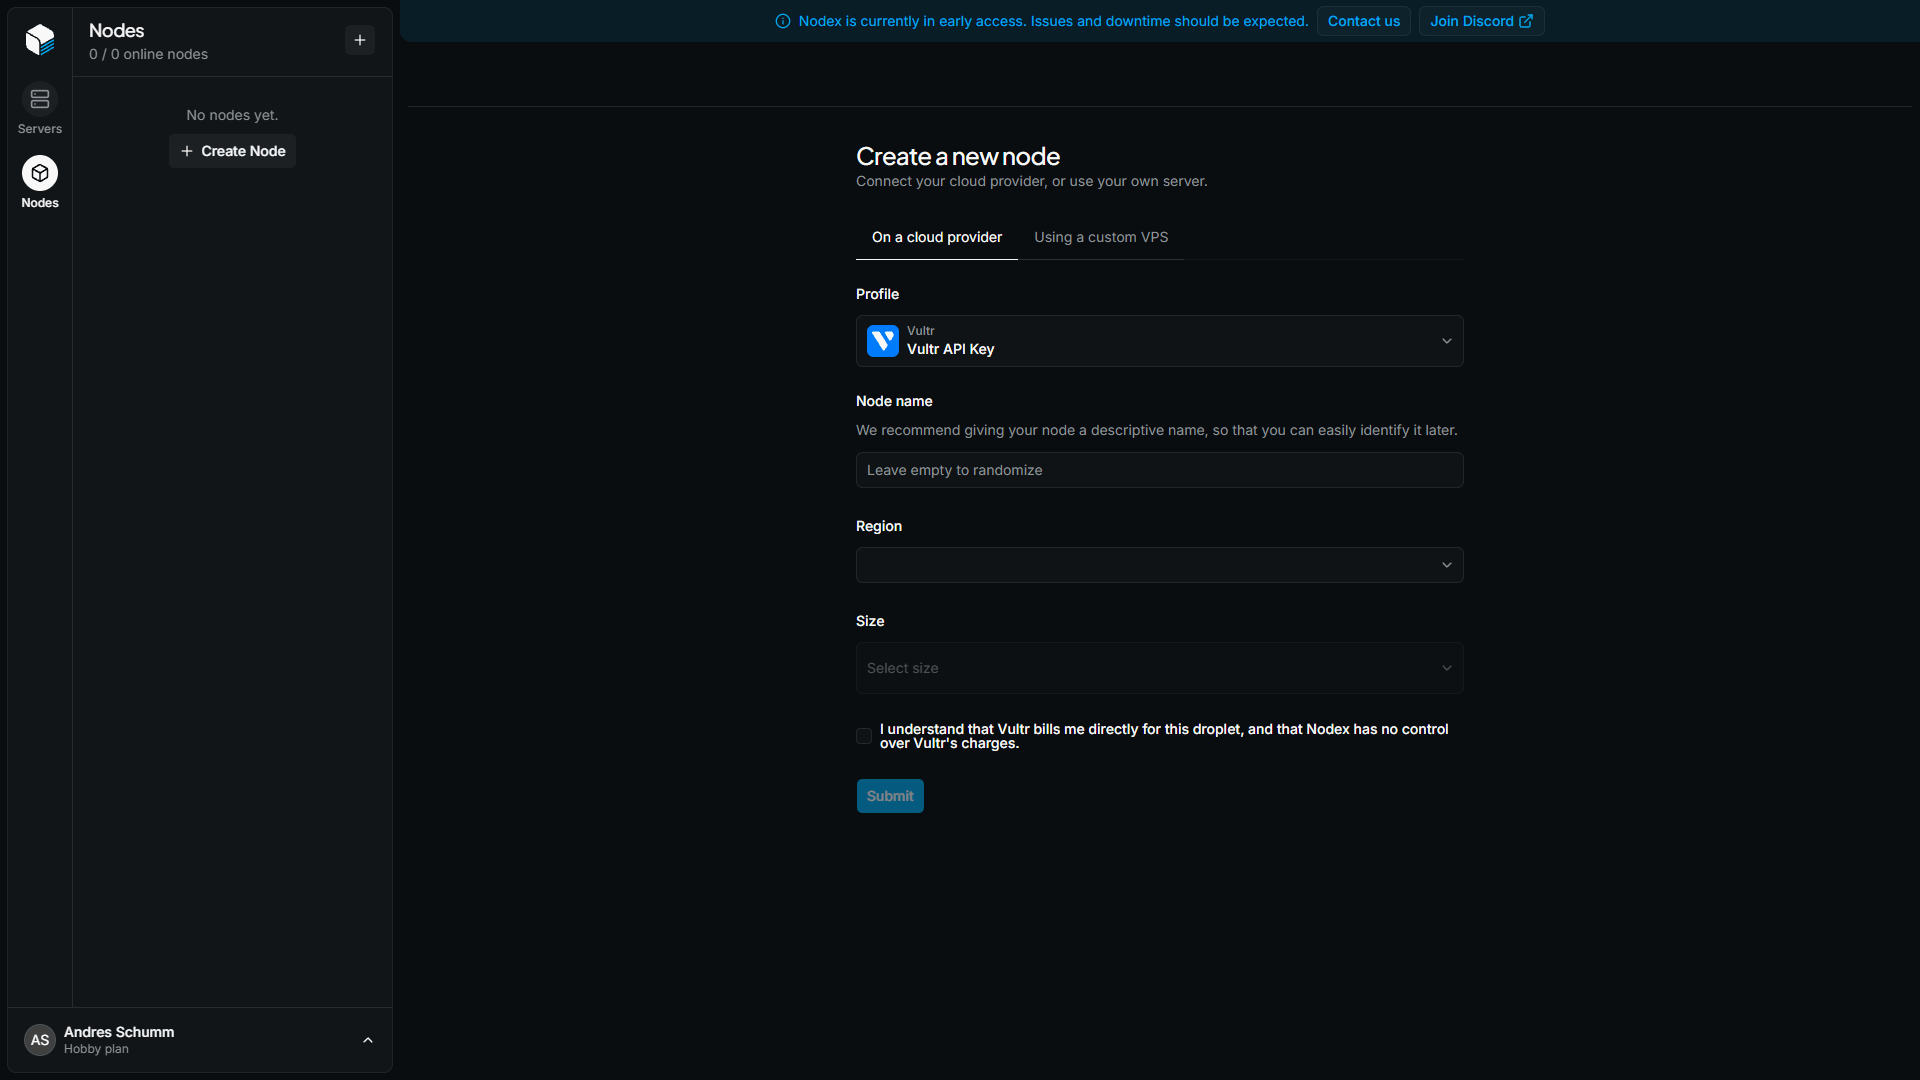 This creates a real instance with your cloud provider, billed at their standard rate as if you'd created it manually. Nodex has no control over your provider's charges.
Nodex installs and configures the software the node needs to run servers. This usually takes a few minutes.
This creates a real instance with your cloud provider, billed at their standard rate as if you'd created it manually. Nodex has no control over your provider's charges.
Nodex installs and configures the software the node needs to run servers. This usually takes a few minutes.
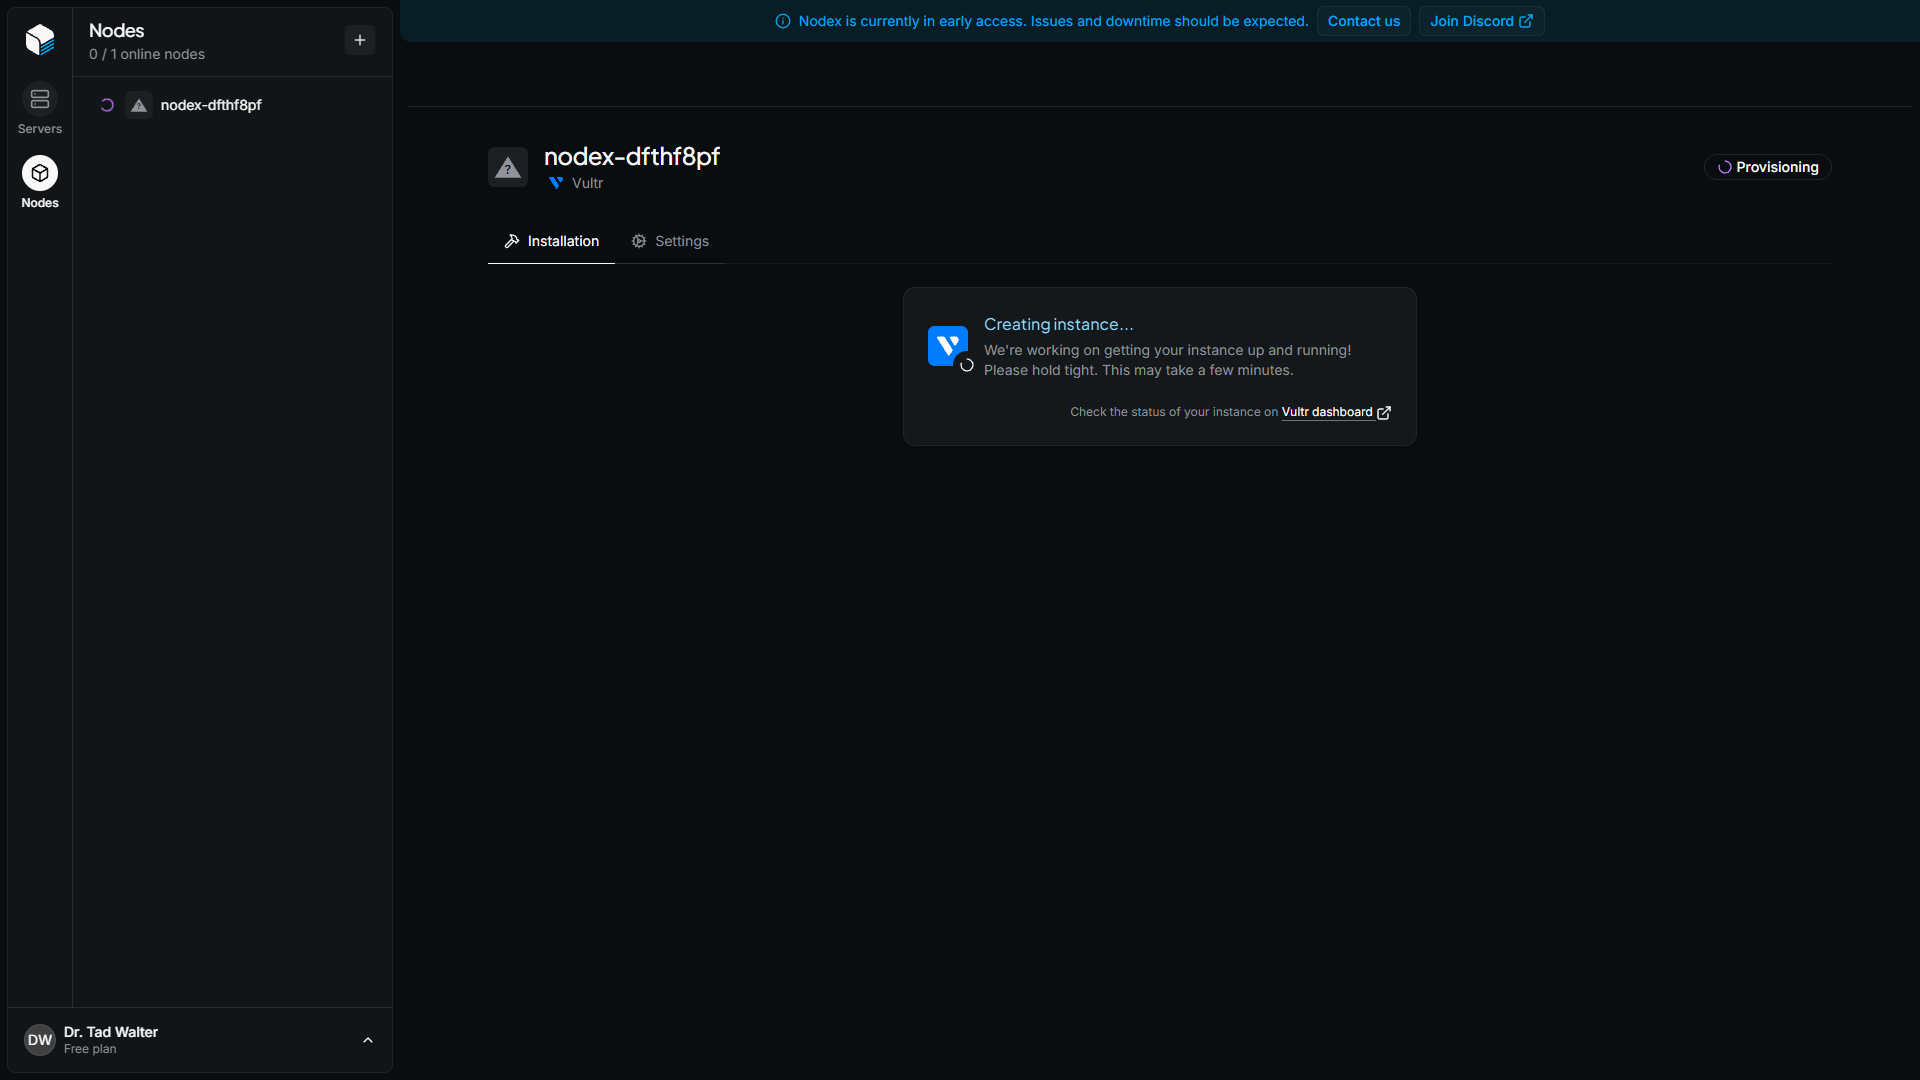 You're ready to create a server on it.
Before connecting your own Linux server, make sure it meets the [custom VPS requirements](/custom-vps).
From your main Nodex dashboard, click **+ Create Node**.
Give your node an optional name, then click **Submit**.
You're ready to create a server on it.
Before connecting your own Linux server, make sure it meets the [custom VPS requirements](/custom-vps).
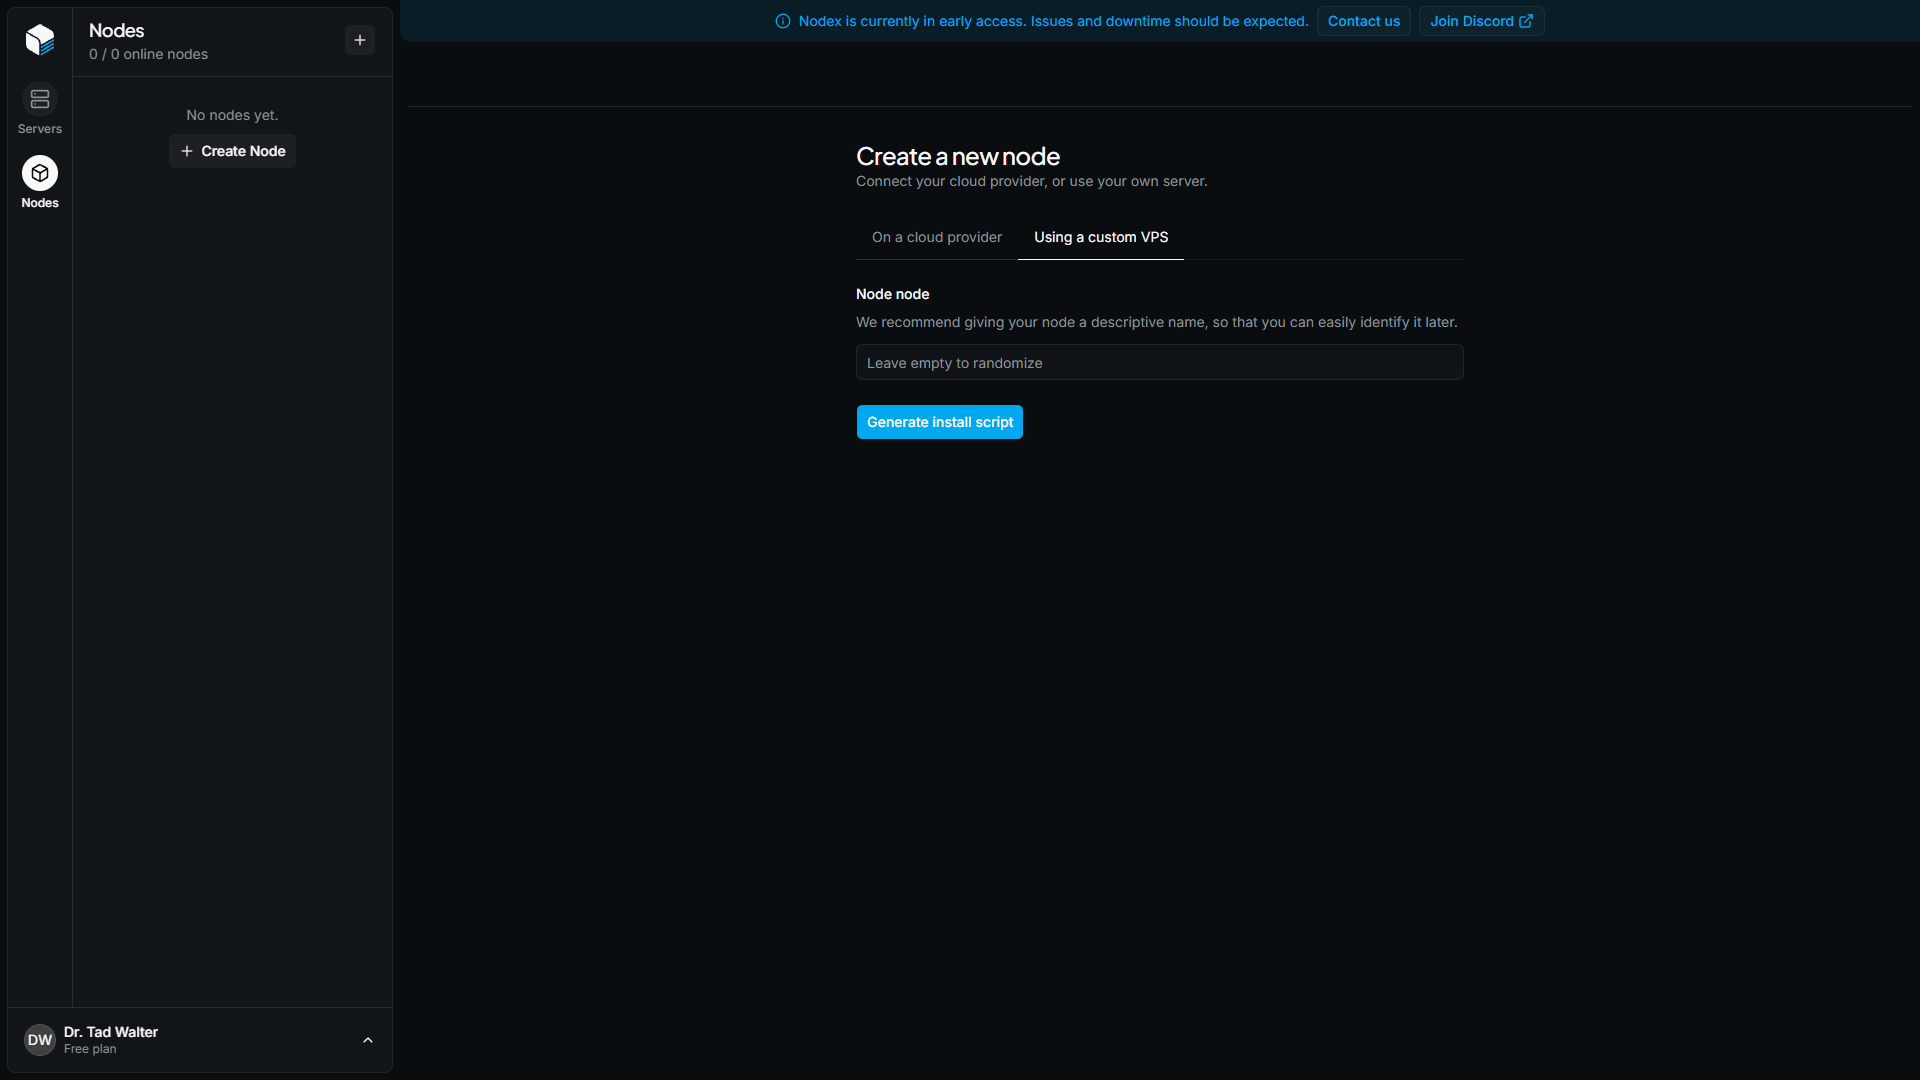
From your main Nodex dashboard, click **+ Create Node**.
Give your node an optional name, then click **Submit**.
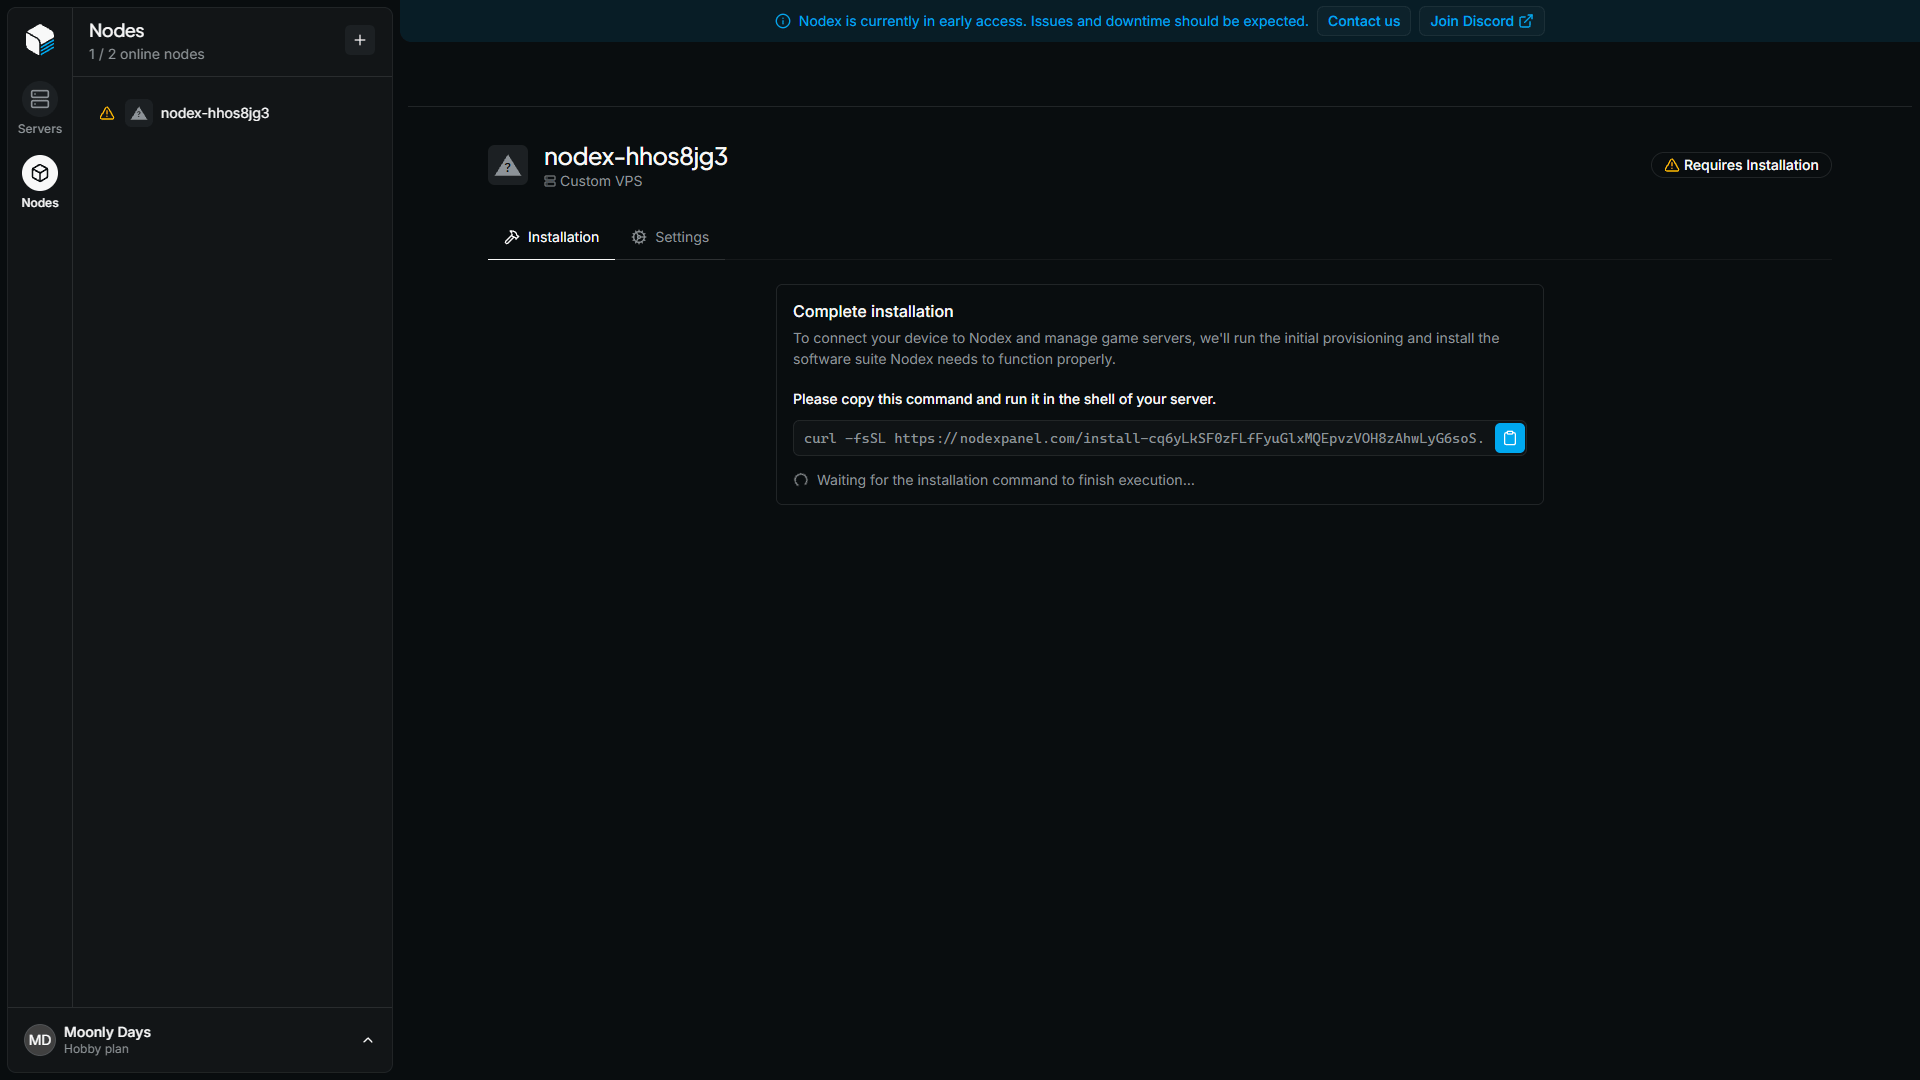
 Click the clipboard button to copy the command.
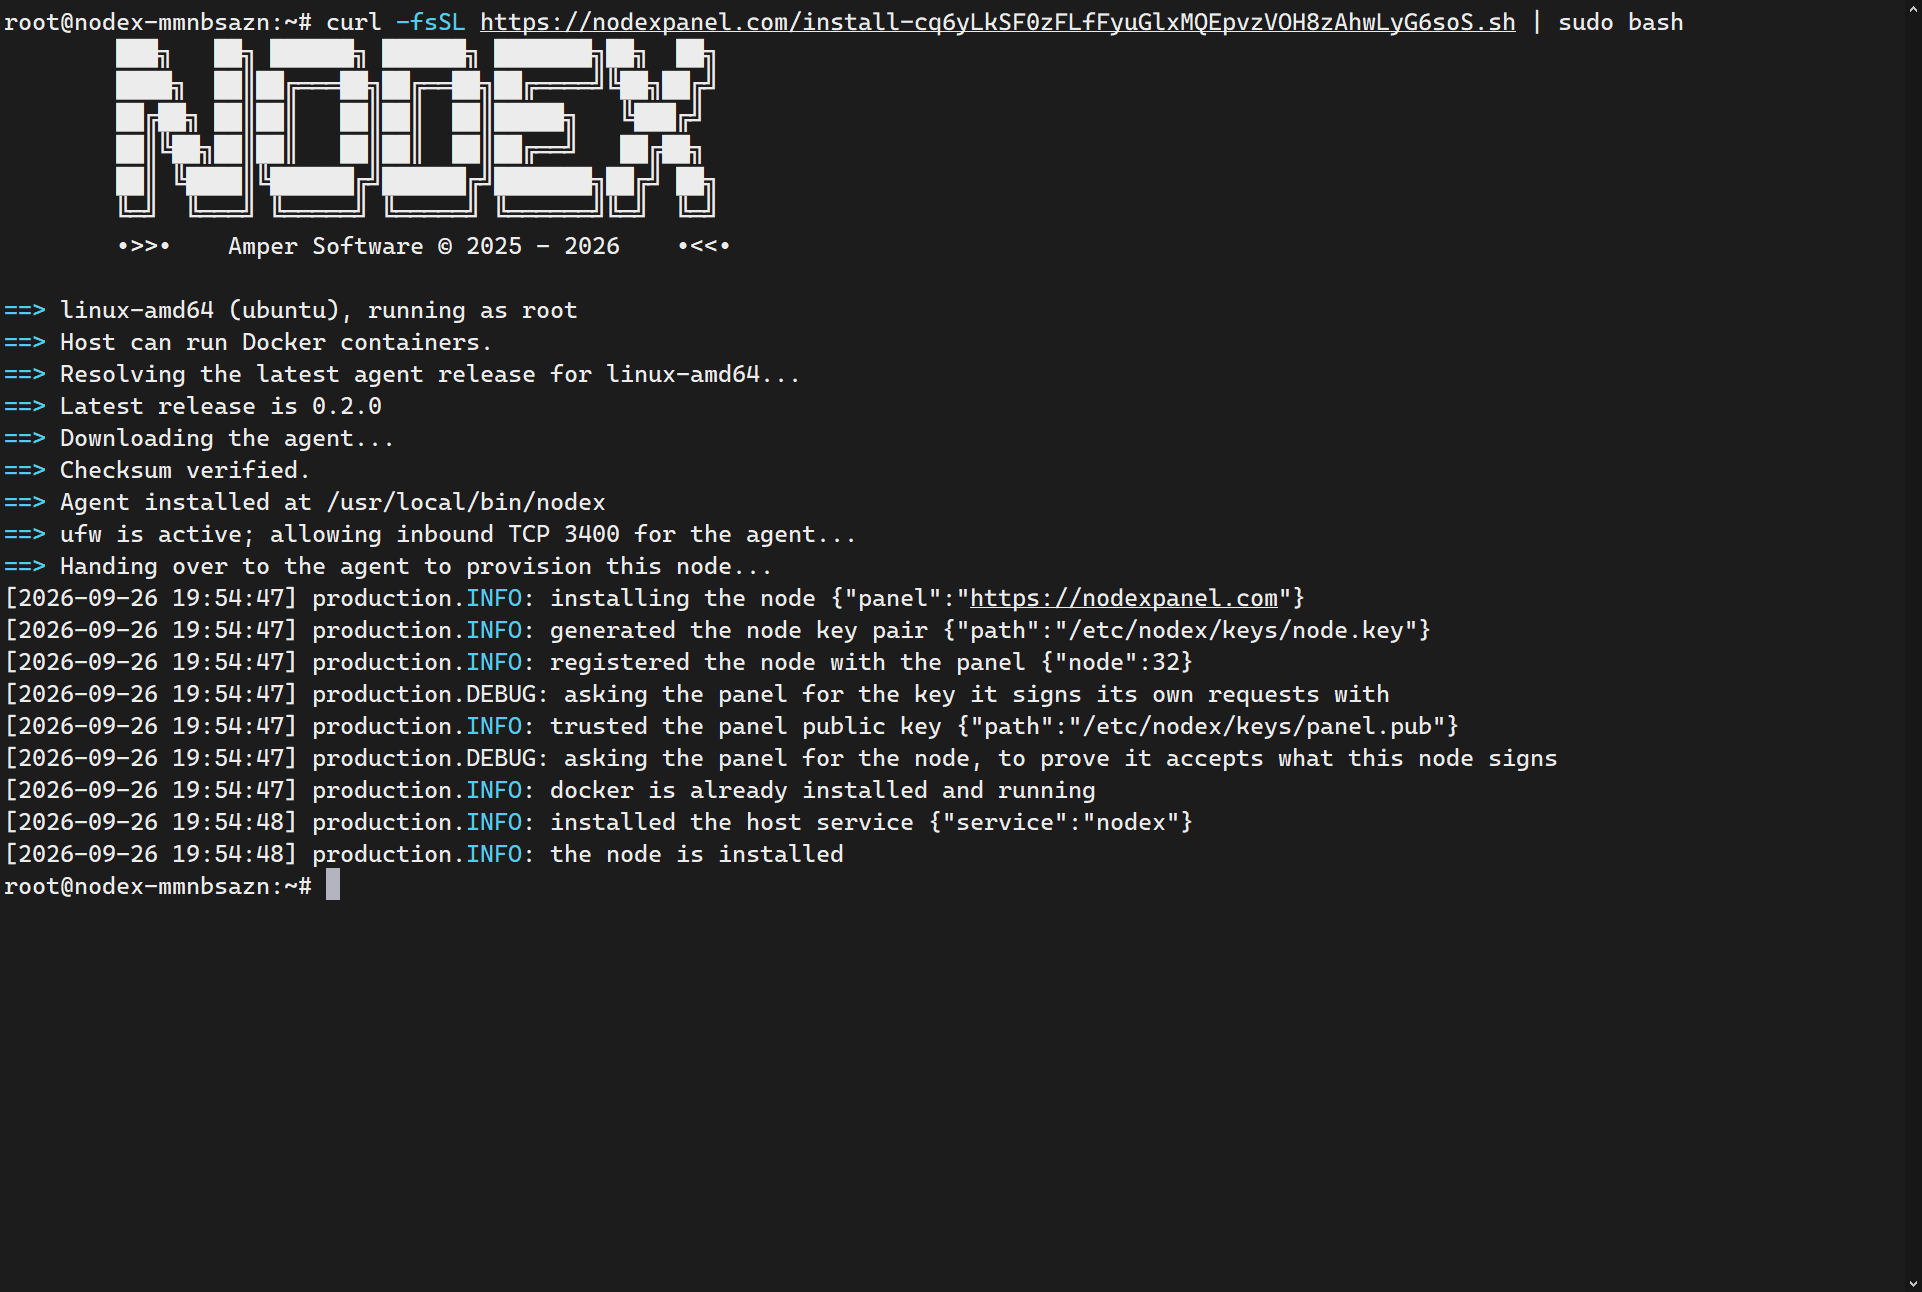
 Paste and run the copied command over SSH, then wait for it to finish.
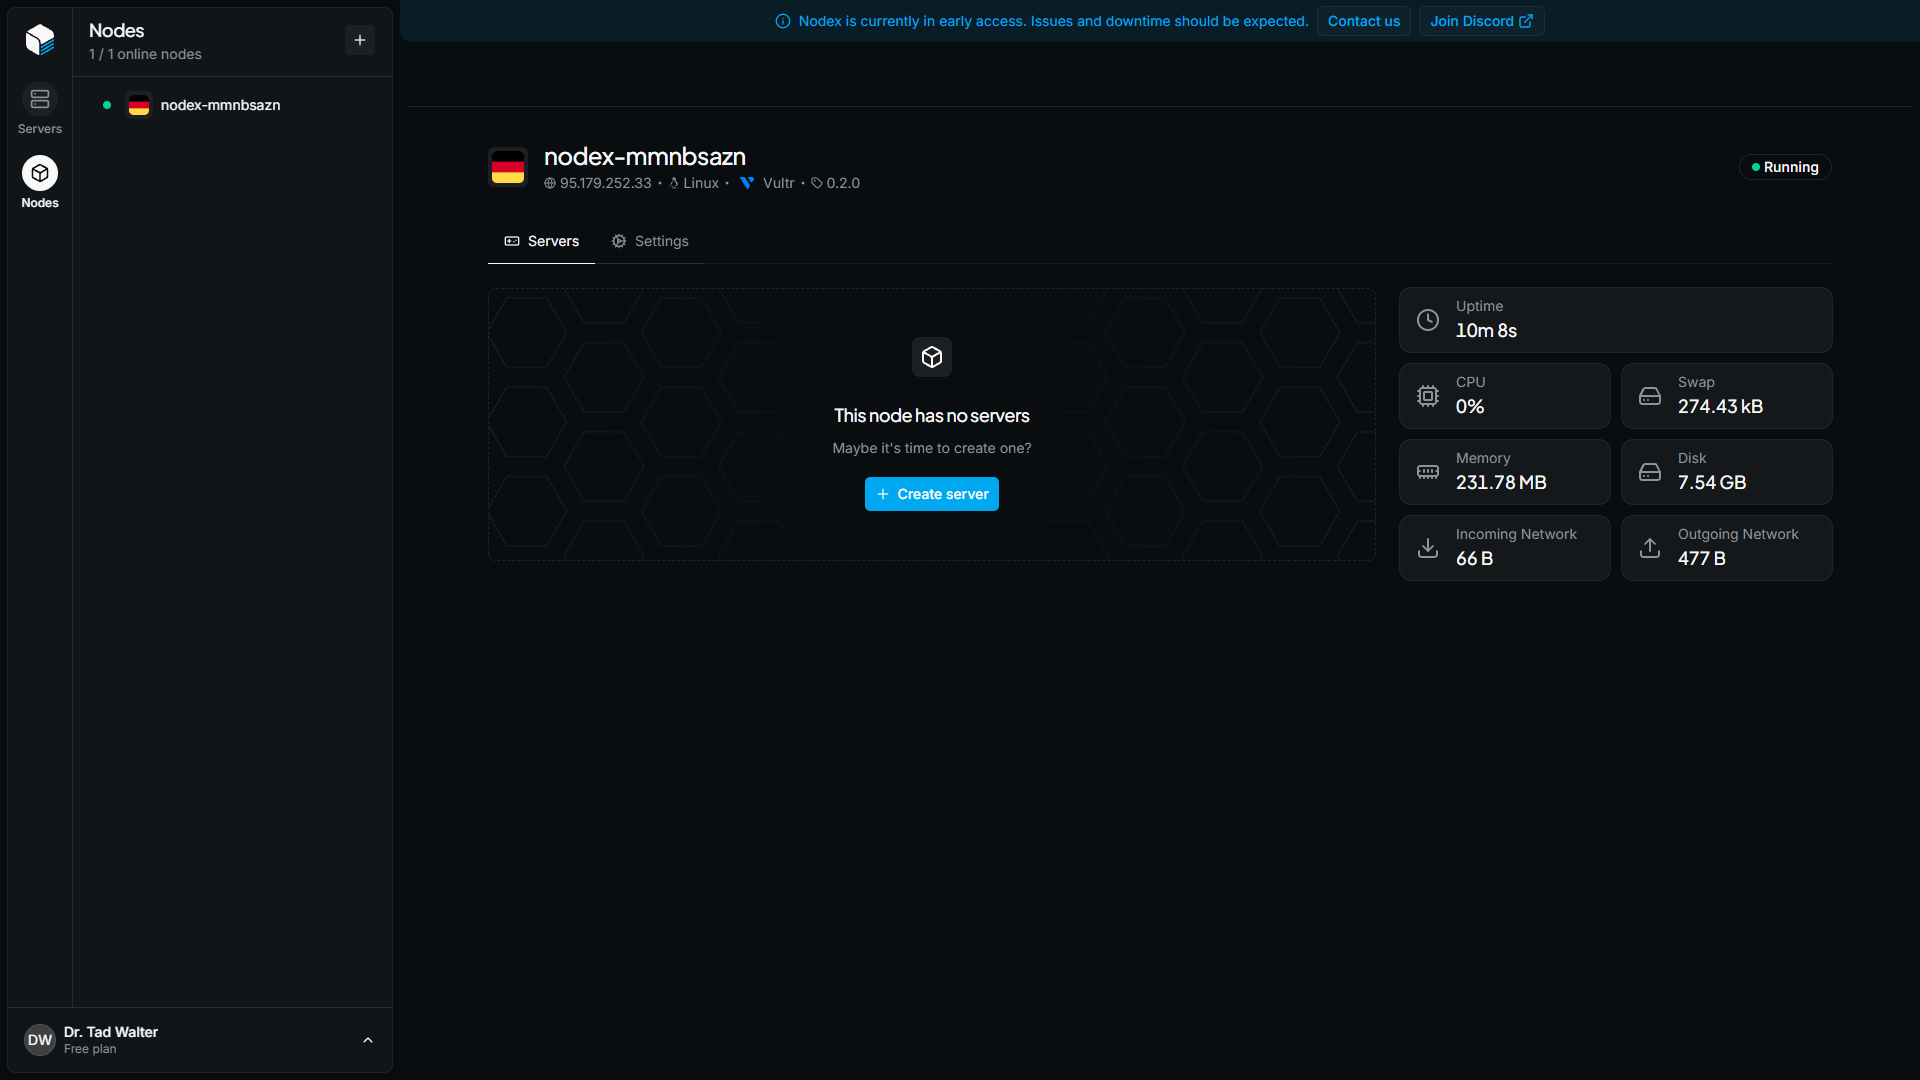
 You're ready to create a server on it.
## Create a server
Now you can create a dedicated game [server](/servers) on your node.
Click the blue **+ Create Server** button.
You're ready to create a server on it.
## Create a server
Now you can create a dedicated game [server](/servers) on your node.
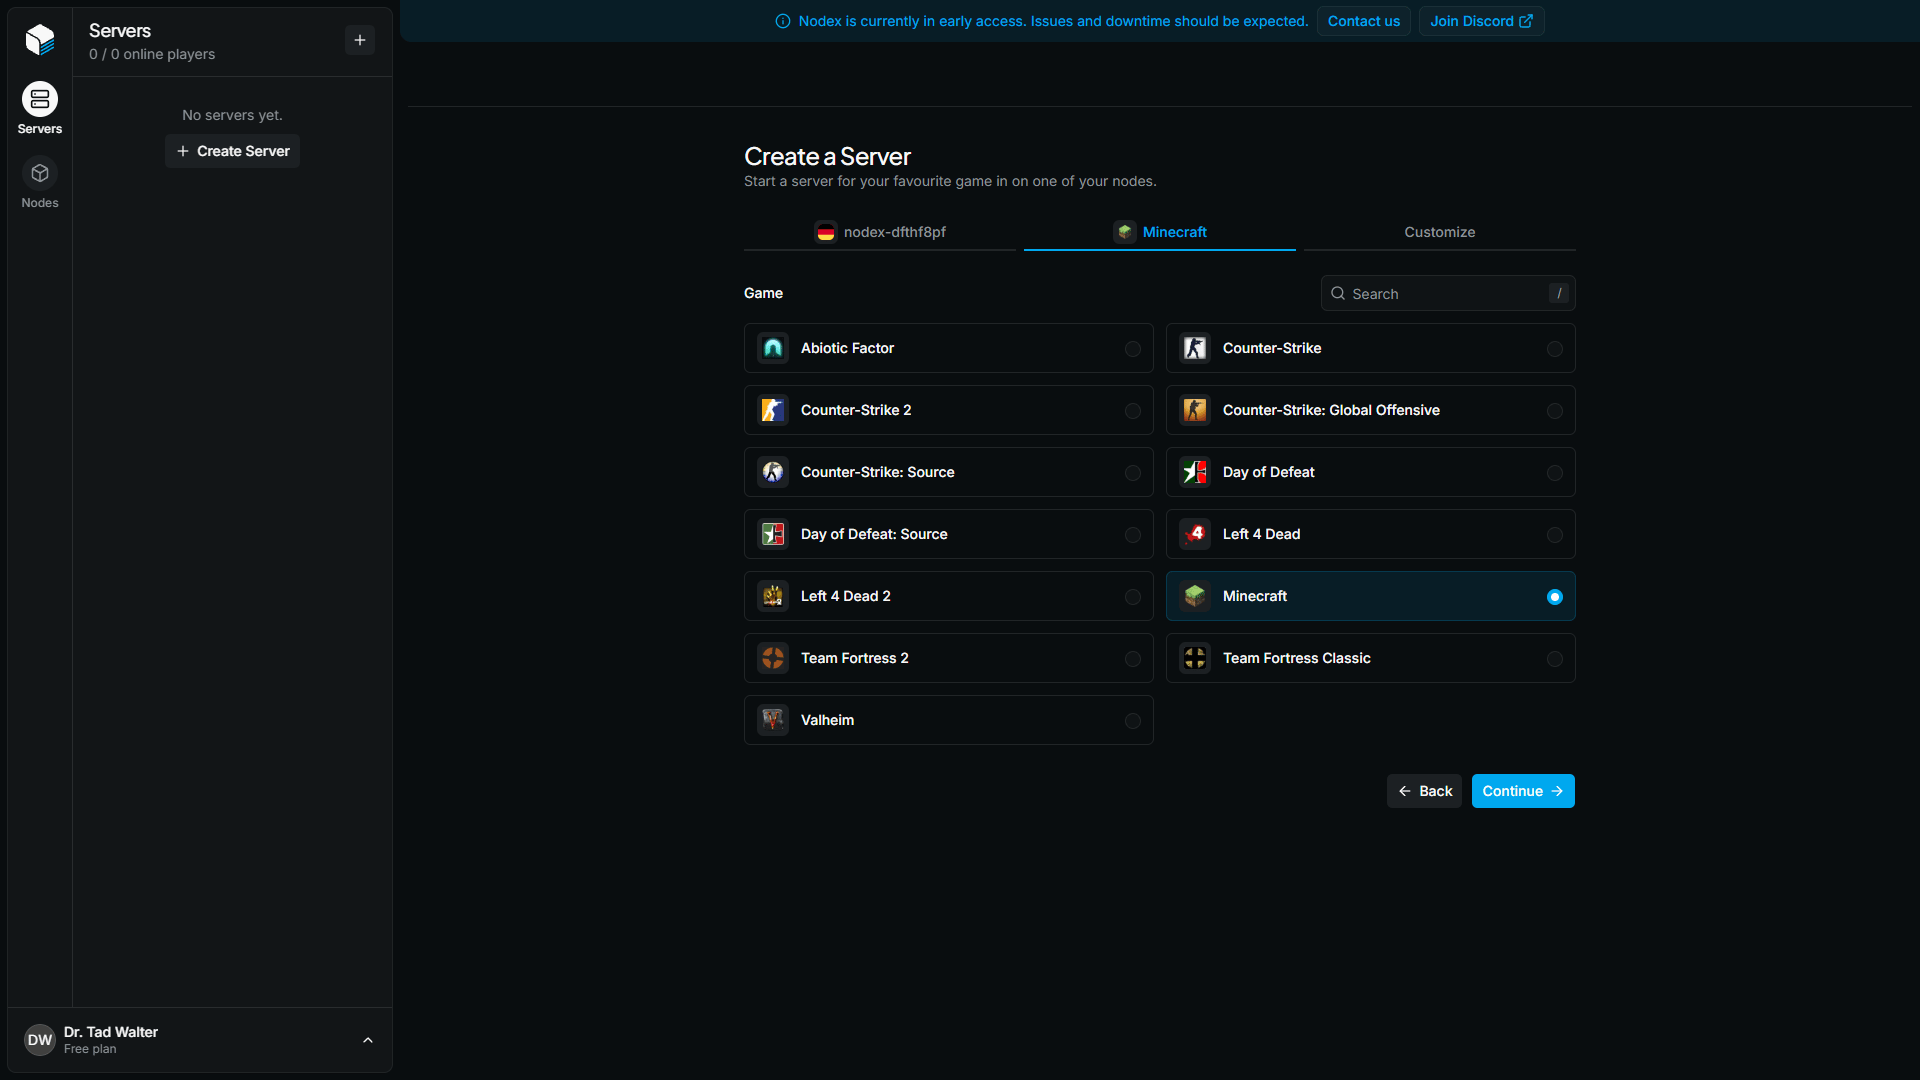
Click the blue **+ Create Server** button.
 The list of supported games is constantly expanding.
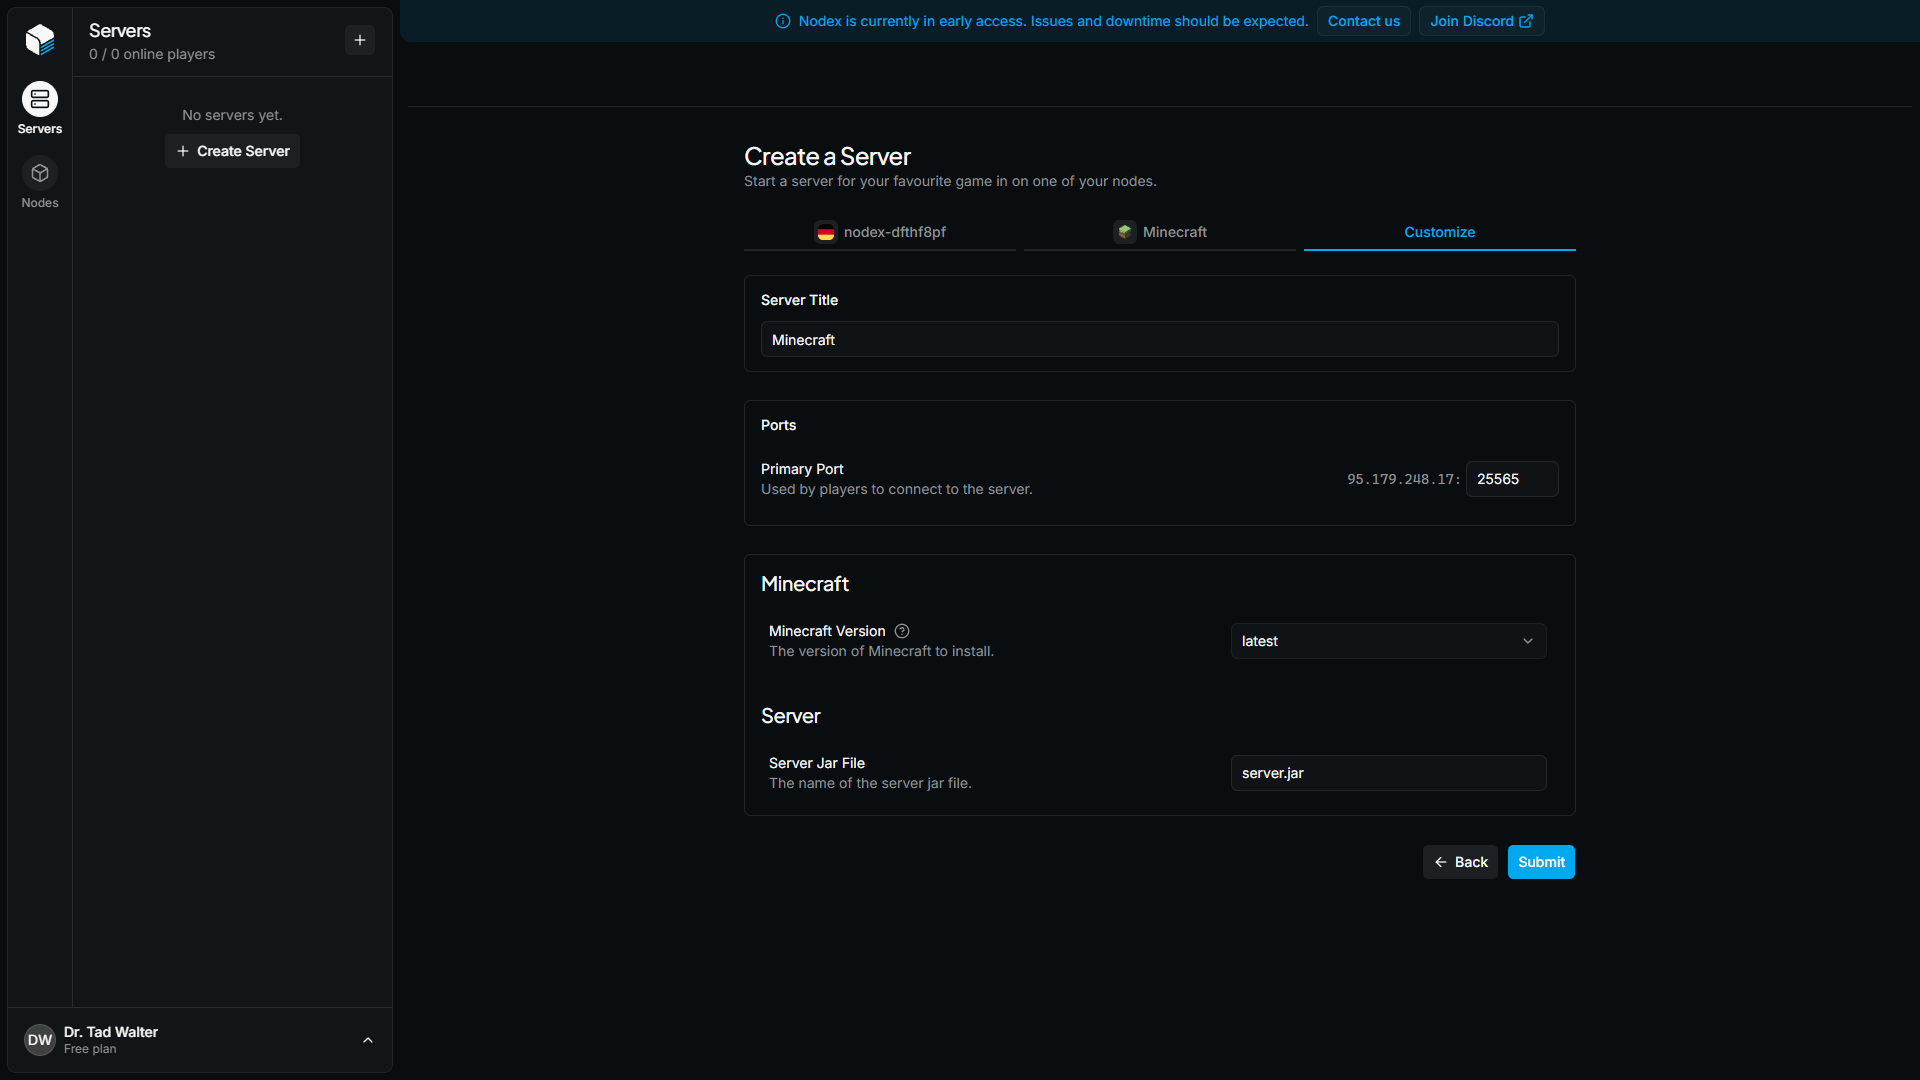
 Give it a title, assign port allocations, and customize the startup parameters. Click **Submit** once you're done.
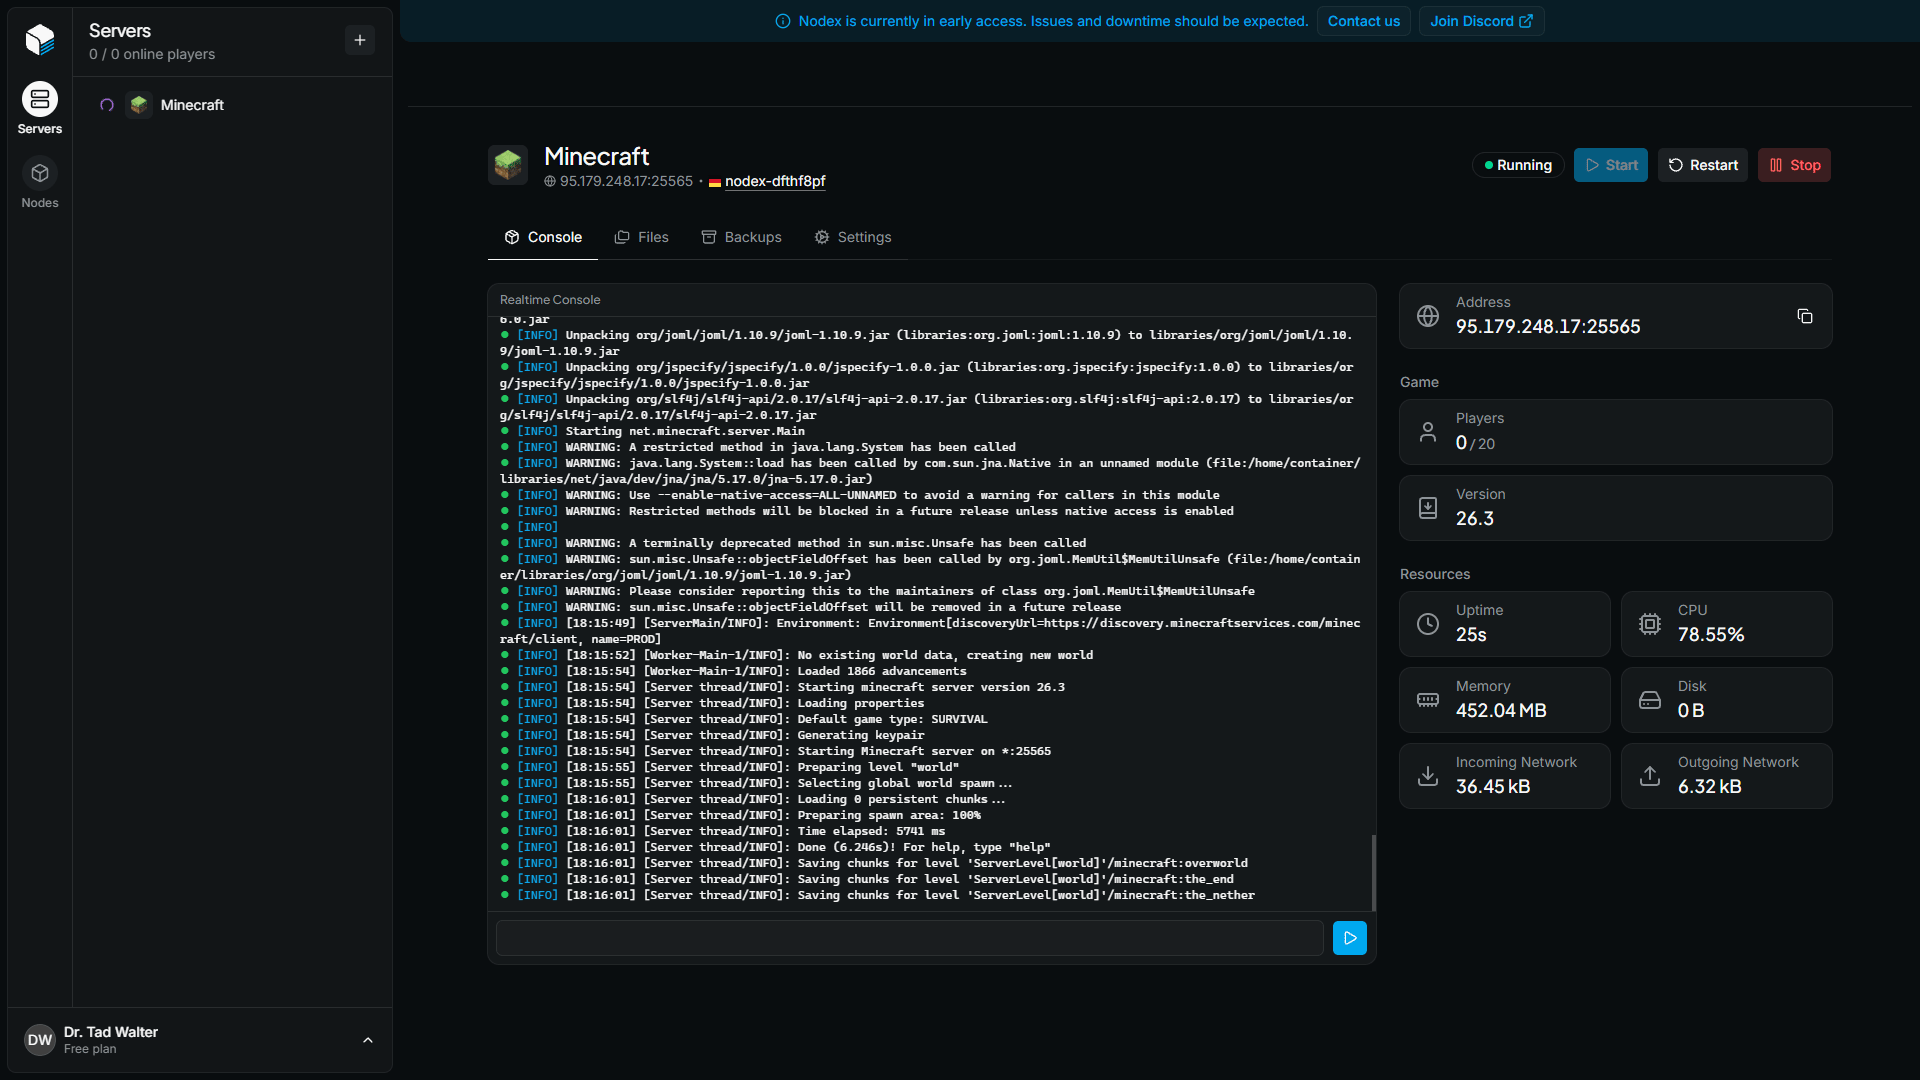
 The server takes a few minutes to install, then starts automatically. Once it's ready to play, it enters the **Running** state.
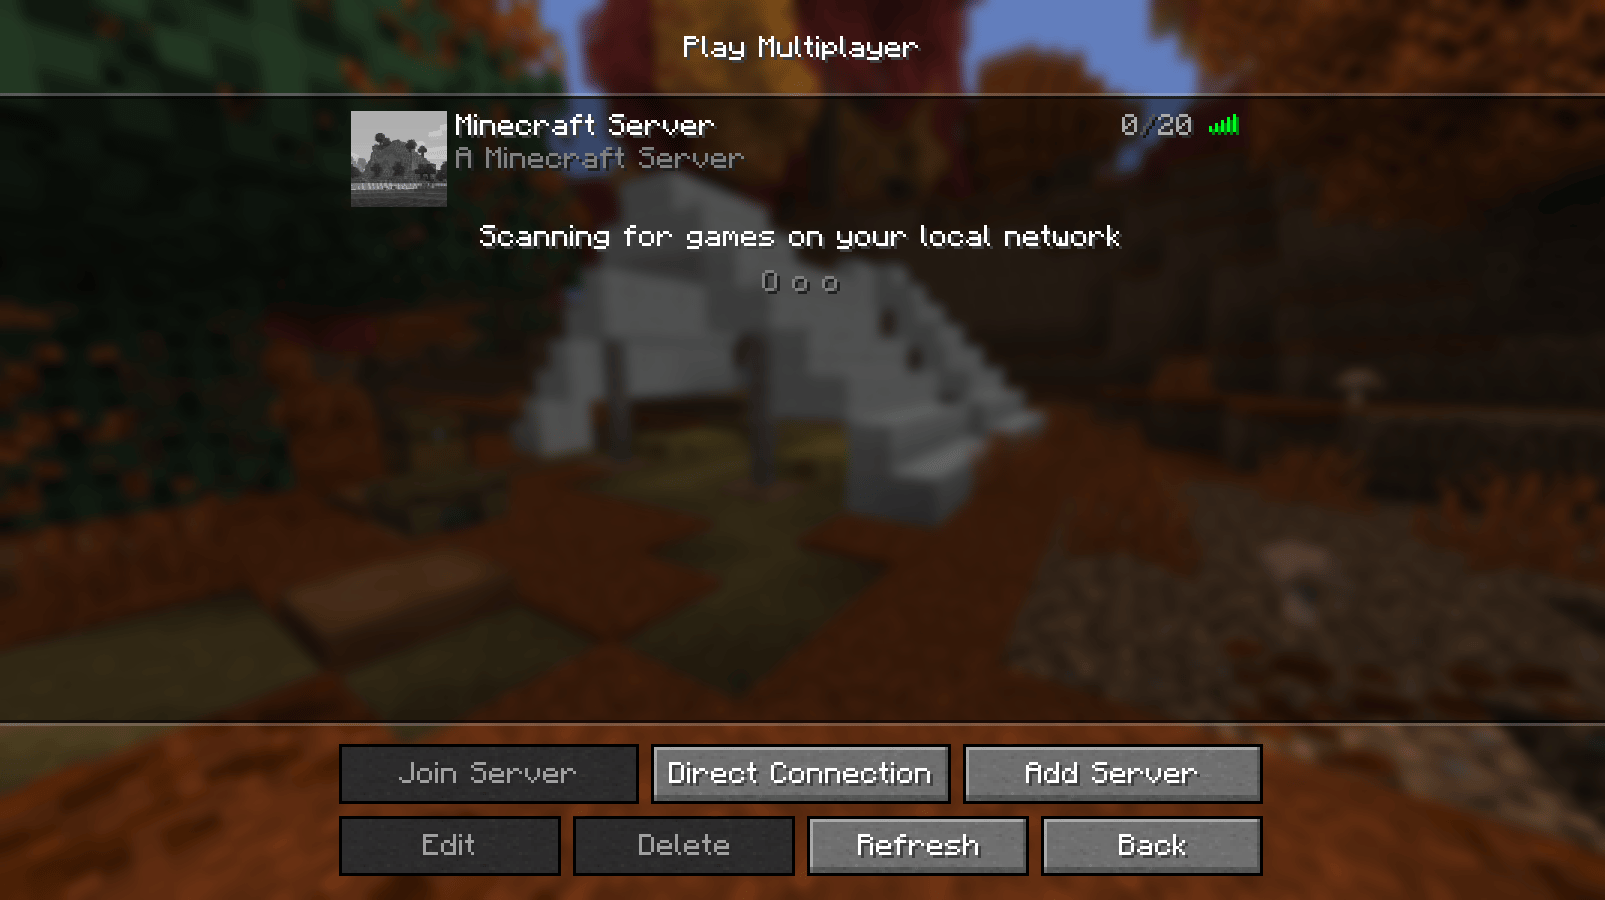 Congratulations! Your server is now running on Nodex.
This documentation is built and hosted on [Mintlify](https://mintlify.com), a developer documentation platform.
Congratulations! Your server is now running on Nodex.
This documentation is built and hosted on [Mintlify](https://mintlify.com), a developer documentation platform.